Jewelry is the perfect accessory to add an interesting element to any outfit. Fortunately, there is endless potential for how to combine different types of jewelry depending on the occasion. But, if you want your pieces to really stand out, you can learn how to create jewelry yourself, designing unique pieces that no one else has. Once you’ve mastered the techniques, you can even use this skill to create beautiful gifts for friends and family. If you’re wondering how to start making jewelry, learn more about some of the basic tools and techniques and then get inspired by these beginner projects to test your new skills.
Basic Jewelry-Making Techniques
Before you can start making extravagant and time-consuming pieces of jewelry, you need to have a good understanding of the basic principles. Order the necessary tools and begin experimenting with beads of all different sizes, shapes and colors in your jewelry-making.
Tools You’ll Need
There are a few tools that you can’t live without if you’re going to start making jewelry. As you get better and want to try more difficult projects, you’ll probably have to invest in different materials and tools. But for now, these are the important items to have before you can begin.
- Round nose pliers
- Flat nose pliers
- Wire cutters
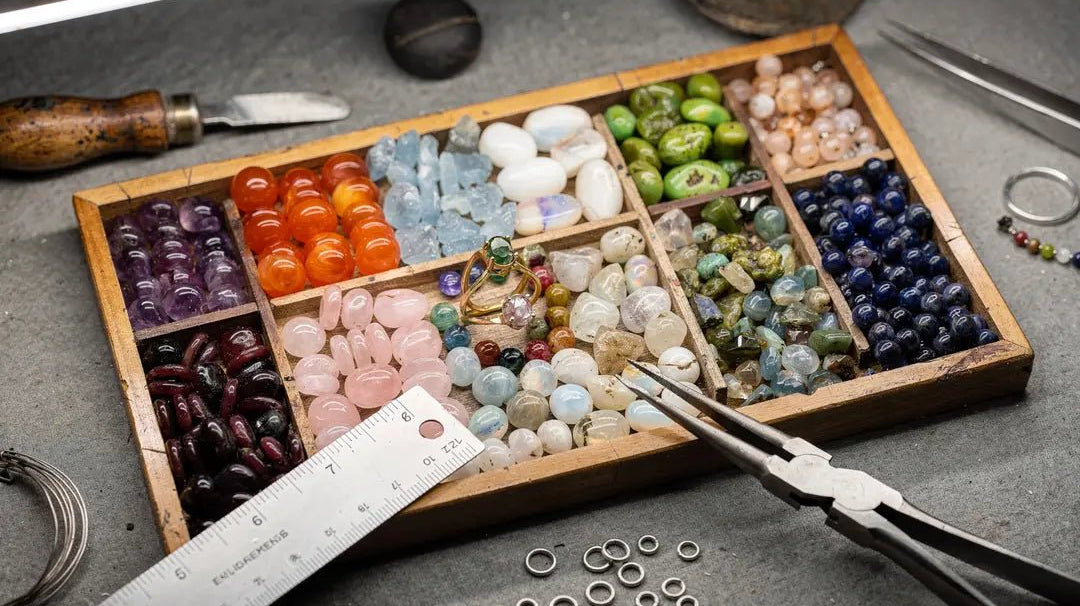
- Beads
- Bead organizer
- Clasps
- Wire
Your pliers will help you grip the wire, add beads and close clasps when you’ve completed the project. Wire cutters are used to cut your wire to a variety of different lengths, but you can also try using string instead if you find the wire difficult to work with. When it comes to buying beads, you should purchase several different types to give your projects some variety, and a bead organizer can help keep all of your beads in one place. Clasps and findings will help you attach different parts of the jewelry and provide a way to put on and remove the piece.
Start Small
If you’ve never tried jewelry-making before, it’s best to start with a small, easy project. Getting yourself involved in something too difficult right away may discourage you from finishing the project. Bracelets and simple necklaces are great first projects because they won’t take too long and you still practice using those beginner techniques like beading the wire and attaching the clasp.
Plan Your Design
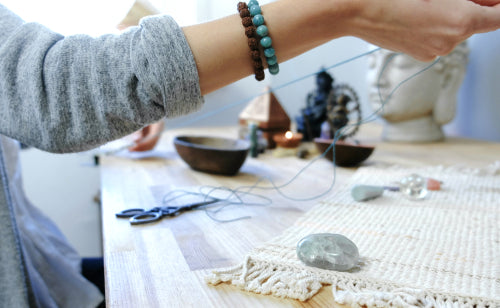
So, you’ve got your tools and you’ve decided on a project that fits your skill level. Now, it’s time to plan out your design. When it comes to jewelry-making, you want to be sure that your pattern is going to look good and that your piece is the correct length. Measure your wire before cutting and add an extra inch or two to tie around the end. Then, set your beads out in your desired pattern on a flat surface first. This will give you a good idea of whether or not the colors and sizes go together well. Once you’re happy with the design, it’s time to start stringing those beads!
DIY Jewelry-Making Projects
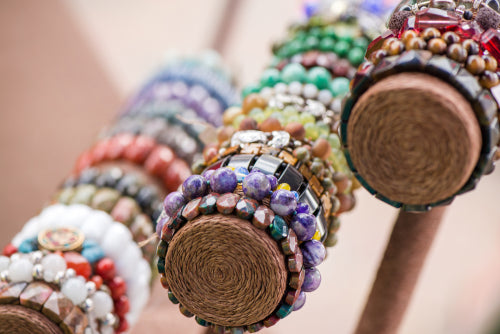
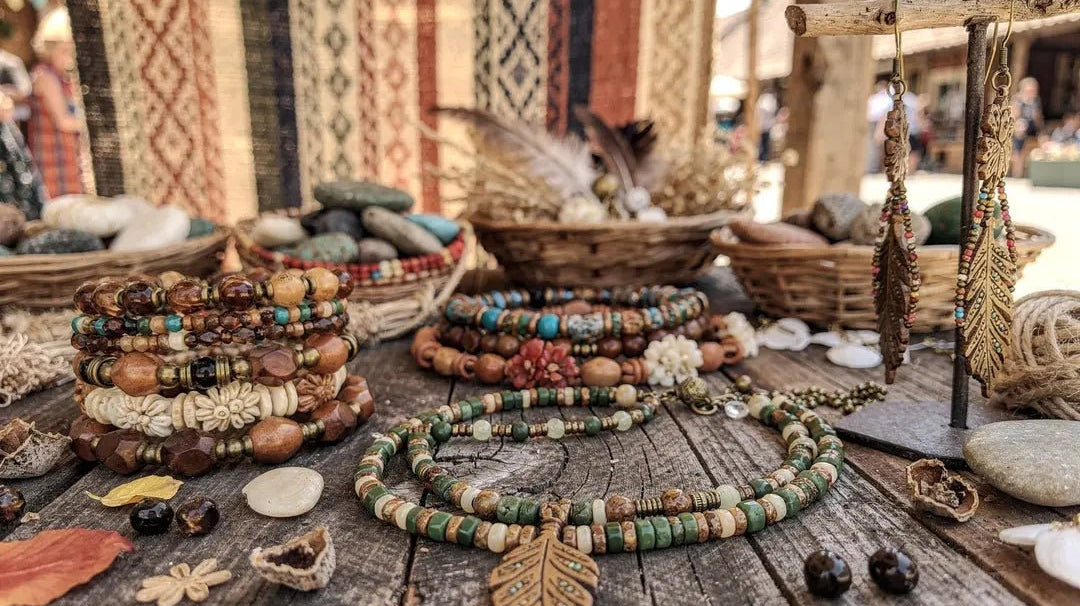
Gemstone Bead Bracelets
This is a really simple project that any beginner jewelry maker can do. Pick some of your favorite gemstone beads like rose quartz or jasper and plan out your design. If you want to make this really simple, you can use the same beads for the entire bracelet. For this project, you may want to use a stretchy beading thread over wire. To begin, take the measurements of your wrist and add an inch for extra room on the bracelet. Then, cut your wire to be significantly longer than this to give yourself plenty of room to work. Secure the end of the wire with tape or a paperclip to prevent beads from sliding off and then add your beads to the wire. When you’re done, cut off any excess thread and use a square knot to tie it together. You can use superglue on the knot to ensure that it stays in place.
Beaded Fringe Necklace
Another really cute project that doesn’t take much time, the beaded fringe necklace uses a chain, headpins, an eye pin and seed beads. Decide on your bead pattern and then add your beads to the headpins to make sure the pattern lines up. Once you’ve done this, you can use your round nose pliers to create a 90-degree angle at the end of the headpin and then use the pliers again to create a circular loop. Add each of these to your eye pin, create another loop on the end of that and attach the two ends to a chain.
Learning how to start making jewelry isn’t hard once you’ve got the right tools and techniques. Practice with easy DIY projects like these beginner jewelry-making ideas and then start researching more complex projects to expand your skills and create a line of gorgeous accessories for you, your friends and family.