FREE SHIPPING & FREE RETURNS | 1st CLASS USPS for orders $100+ in the US.

Customer Reviews

thebeadtraders.com widget logo
freshwater pearls necklace

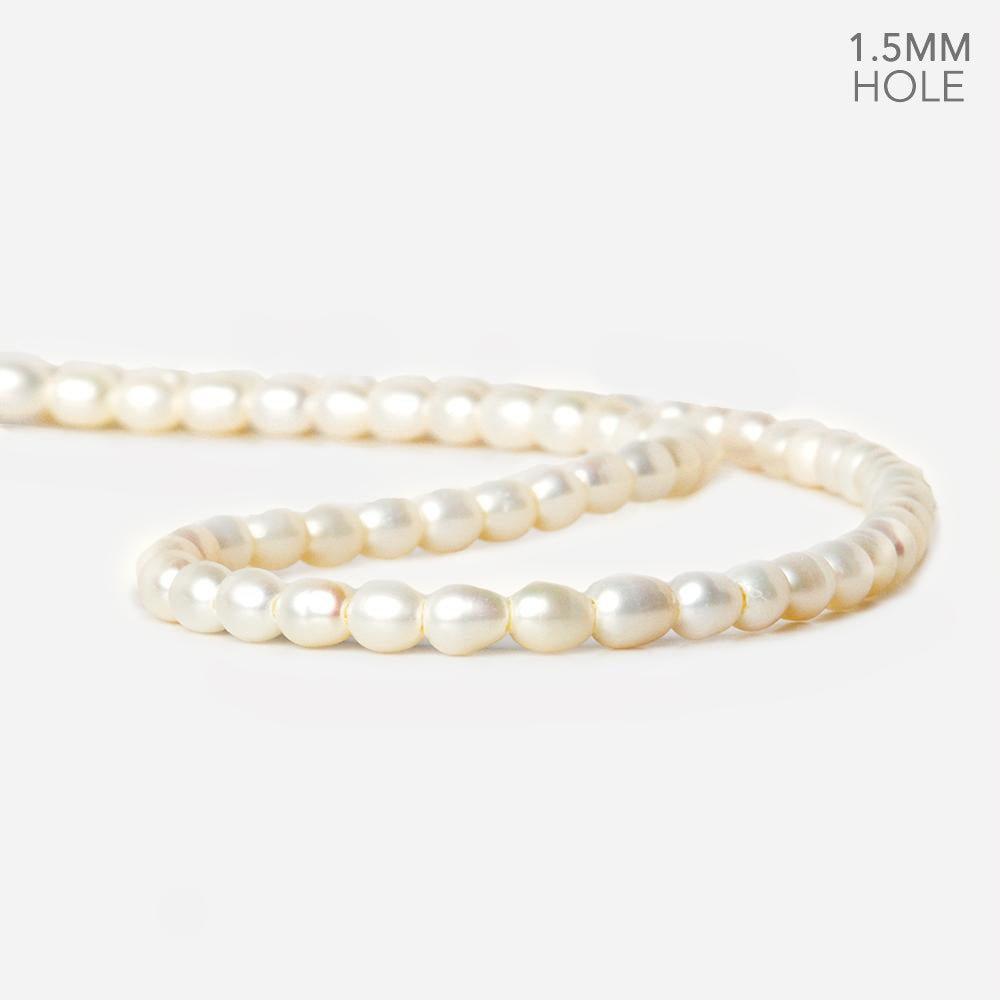
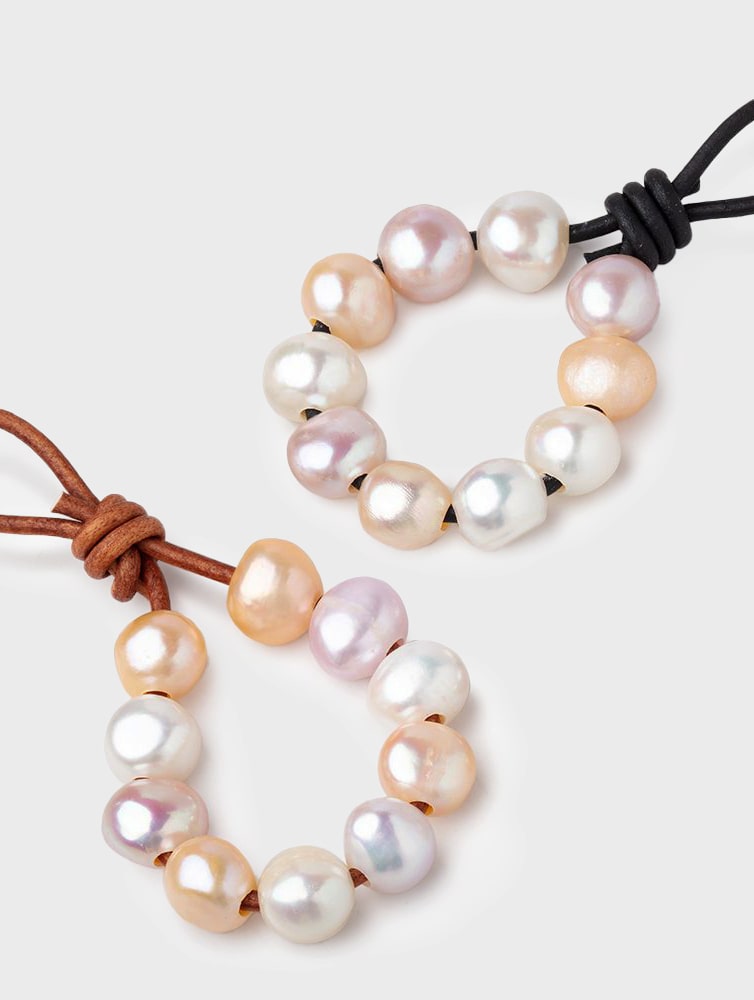
Timeless Beauty: How To Make Freshwater Pearl Necklaces

Pearl jewelry has been synonymous with sophistication, elegance, and beauty for centuries. Pearls have graced the neck of the Queen of England and have been popular accessories for celebrities and even presidents’ wives, such as Audrey Hepburn and the beautiful Jackie O. Their presence also communicates a measure of power and wealth due to their costly price tag. Thankfully, you can create many of these same iconic looks along with trendy new options with freshwater pearls and save a great deal of money doing so, allowing you to embrace the look of pearls without having to invest a great deal of money. The following will tell you everything you need to know about making a freshwater pearl necklace, so you can achieve this look anytime you so desire: 

How to Make a Freshwater Pearl Necklace

For this example, we will look at how to construct a simple strand of pearls, which is one of the most beloved and iconic looks. The following instructions will walk you step-by-step through the process and by the end, you will have a lovely piece of jewelry to wear to virtually any event: 

Choose Your Necklace Length and Material

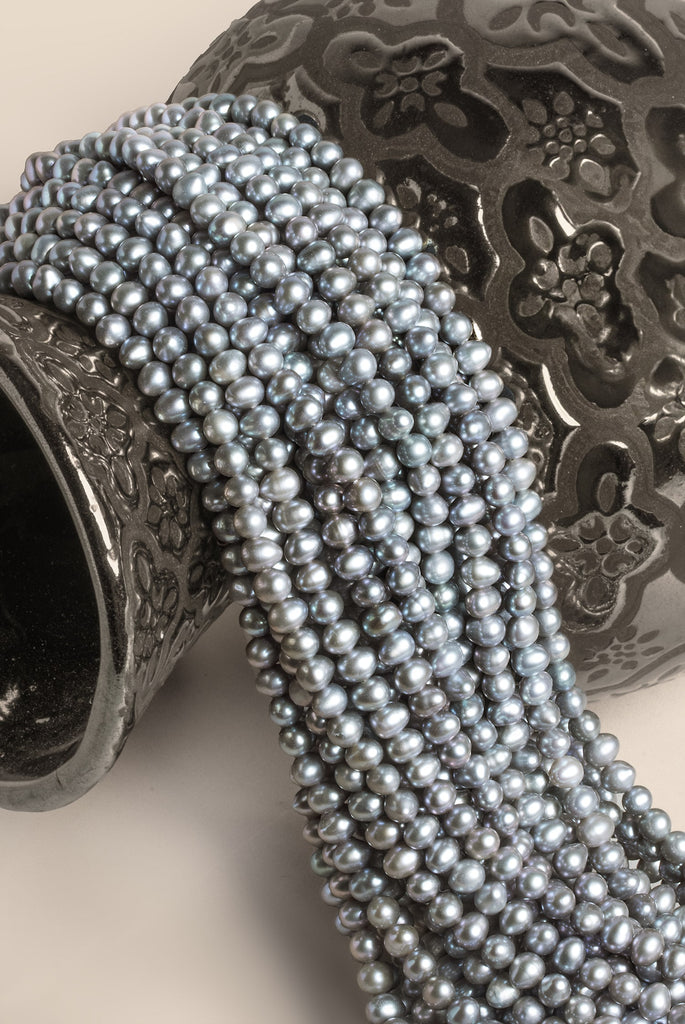
The first step when constructing a necklace is to determine what length you want the necklace to be. This will vary, of course, based on if you want a full pearl necklace or just want to create a focal piece with a few pearls in a specific design. While you can use many types of materials to create your pearl look, for the sake of instruction, let’s assume you are going to stick with silk line. Keep in mind that silk does stretch, so pull the thread taut to pre-stretch it before you measure out your length. This is a standard choice for stringed pearl necklaces like we are constructing. Of course, leather, ribbon, and more can be used as well for different looks, such as when using large-holed freshwater pearls.

  • 12-13 inches: This is what is known as the collar-length necklace. It will generally lay around the middle of your neck and not have too much loose line.  
  • 14-16 inches: Known as the choker length, this is also a classic style that sits at the neck and encircles it comfortably.
  • 17-19 inches: Considered the princess length, this is one of the most common lengths for a complete pearl strand. It is ideally worn with plunging necklines.
  • 26-36 inches: This opera length hangs low around your sternum and can be stacked with other shorter lengths of pearls or worn on its own.

Keep in mind that if you want to double your line for strength (more on this below), you will need to take that into consideration when cutting your length. 

Treat Your Silk Line

As the second step after choosing your necklace length, make sure that you treat your silk line after you have measured it out and cut it off the roll to prevent deterioration. Over time, as you wear your necklace, the residue from soap and the oil from your skin will cause the silk line to weaken, which of course is not what you want. Therefore, it’s a good idea to try to prevent this by applying beeswax (small amount) on the entire length of your silk thread line that you will use to construct your necklace. Apply once, stretch the thread out, and apply a bit more. 

Double Your String

One easy way to strengthen your necklace and protect your string of freshwater pearls is to double your string. Do this by folding the thread in half and tying a knot to connect the loose ends together. If this doesn’t work for you, you can use a bead clamp to safely fasten the ends together. Of course, if you plan on doing this, you should take this into consideration when choosing your necklace length, as you will have to allow for the doubling process.

Gather Your Pearls, Prepare Your Work Area

Now comes the fun part: readying your beautiful freshwater pearls for the job at hand. Prepare for this step well, as scattered pearls throughout your house really aren’t that much fun to track down. Before starting, count your pearls in case any go missing. Then, lay a towel down in your work area to serve as a catch-all. A towel works, but if you plan on doing this again or want to be as efficient as possible, you can instead use a beading tray or mat to help keep all your tools and pearls in one area. 

Thread Your Pearls Using a Needle

Using a thin wire needle, string your pearls on your thread. Ideally, you want to choose a thread and needle that will easily fit through the pearls themselves. Before getting too far into the project, make sure and test the thickness of your thread. If the needle can’t easily pass through the hole of a pearl, then you probably will need a smaller size. Also, you don’t want it to be too small either, as then the pearls can slip over knots. If you are making a simple strand, you don’t have to be very mindful of order in terms of pearls. However, if you are trying to create a pattern or plan on using different pearls or even adding pedants, remember that you are stringing in reverse, so make sure that you keep up your pattern (and plan it out ahead of time) to ensure the placement of these focal points.

Apply a Clamshell Tip

To hold the necklace closed, and before you begin stringing your pearls, you will need to apply a clamshell tip. To do this, thread the needle through one side of the tip all the way to your knot. Dab a bit of glue on the tip to properly close off that side of the necklace line. Tie a knot (overhand knot) to separate the first pearl from the metal clamshell tip. You will want to do this because, over time, the pearl rubbing against this metal surface can deteriorate it. Therefore, by tying a knot between the first pearl and the tip, you can extend the pearls’ life.

String Your Pearls

Now that you have done all the prep work, the next step should be rewarding and fun. You can string your pearls one after another if you prefer. However, one way to help your pearls stay looking great and prevent unnecessary wear is to space them out slightly using the overhead knot. To do this, place one pearl on the silk line and then tie an overhand knot and then place the next one. If you do use the knot system to space out your pearls slightly, make sure that you tie the line tightly before moving on to the next pearl. Sometimes, tweezers can come in handy when working this precisely.

Check It, Throughout

As you construct your beautiful strand of freshwater pearls, routinely check the length and look on your neck. While you can measure it beforehand and lay it out on a table, it will look different and lay differently on your actual neck. So, before completing your necklace, be sure to check it several times throughout the process.

Attach The Other Clamshell Tip

When you are finished with your necklace, to complete your piece, attach the other side of the clamshell tip to the opposite side of the necklace. Knot the line securely and then tuck it inside the clamshell tip, if possible, to hide. Then, make sure to add some glue to ensure that the knot holds, and you do not lose your pearls.

Finish it Off With Clasps and Jump Rings

Last but not least, bend your clamshell tips open with pliers, so you can easily link in your clasps, such as lobster clasps, and the other, into a jump ring. Once you have your clasp and jump ring in place, bend the clamshell tips to close them in, then apply glue to where the tip ends and bends back into itself. This prevents your necklace from working itself loose over time.

You Did it!

If you have followed the steps to this point, you should have a beautiful freshwater pearls necklace to enjoy. Congrats, you did it!

Read more
How to Make Bracelets with Beads - The Bead Traders

How to Make Bracelets with Beads

Naturally, you can always buy cute beaded jewelry readymade for yourself or a loved one. But there’s just something about a piece you planned and created with your very own hands.

Making your own beaded jewelry is a terrific way to add a touch of personal flair to your accessory collection or spend a Sunday afternoon doing something creative. As a hobby, it’s affordable, fun, and relaxing. And truly beautiful beaded jewelry is easier than you think to make, even for beginners.

Beaded bracelets are terrific items to start with for lots of reasons. They’re approachable, easy to wear, and versatile. Here’s a closer look at how to make a bracelet with beads that you’re sure to love, as well as how to get the absolute most out of your new hobby.

What Types of Bracelets Can You Make with Beads?

Don’t assume that if you’ve seen one beaded bracelet, you’ve seen them all. There are lots of different kinds to consider, each with its own unique vibe and style. The following are just a few popular options to consider.

Stretch bracelets

If you’re a beginner looking for an approachable way to get started with beaded bracelets, stretch bracelets are a great option. There’s no need to worry about clasps or wiring, as you simply stack the beads onto a stretch cord that expands to fit your wrist.

Friendship bracelets

Although there are many different ways to approach friendship bracelets, most combine simple knots with beautiful beads to create beautifully unique patterns. Friendship bracelets are perfect for gifting or trading with friends, family members, children, etc.

Wire-wrapped bracelets

If you’re looking to achieve a more elegant, refined look to your bracelets, wire-wrapped options are a great choice. Wire wrapping involves using thin jewelry wire to create patterns that include gemstones, crystals, beads, focal items, and more.

Beaded cuff bracelets

Cuff-style bracelets allow for lots of elaborate beadwork, creative patterns, and different gemstones. A sturdy base makes all this possible, making it a favorite approach for jewelry makers who love to let their uniquely creative spirits run wild.

Charm bracelets

One way to add a quirky, fun touch of personality to a beaded bracelet is to turn it into a charm bracelet. The charms dangle freely from the bracelet and come in many different styles, making them a wonderful way to customize your work.

What Materials Do You Need to Start Making Beaded Bracelets?

Before you get to work on your first bracelet, you’ll want to gather all the materials you’ll need so everything’s on hand. Here’s a simple list of basics to get you started:

  • Beads: Naturally, the beads you choose will give your bracelet its spirit and style, so choose carefully. You can go with anything you like from inexpensive acrylic or glass options to beautiful gemstones and crystals.
  • Wire, cord, or string: You’ll need one or all of these, depending on what type of bracelets you’re making. Stretchy cord is better for easy wearability, while wire and other options are better for intricate, elegant designs.
  • Fasteners: Unless you’re sticking to stretch bracelets, you’ll need a way to fasten your bracelets once they’re complete. Check out classic options like claw clasps or toggle alternatives, along with jump rings and (if you’re making wire bracelets) crimp beads.
  • Jewelry tools: Essential beading tools and equipment, including wire cutters and jewelry pliers.

How to Make a Bracelet with Beads

Once you’ve chosen your beads and preferred options for threading and securing your creations, it’s time to get down to business. Here’s a simple step-by-step rundown to refer to as you dive into your new hobby.

Get organized

Although you can adopt a more organic approach to jewelry making if you wish, most jewelry makers prefer to plan ahead. Invest in a bead board or a dedicated bead tray for organizing and keeping track of your beads. Plan your design, as well, so you can create with purpose and direction.

Take some measurements

Always measure your wrist (or the wrist of the person who’ll be wearing your creation) before creating to ensure a comfortable fit. Add an extra inch or so to ensure the bracelet will fit comfortably, and cut your wire or cord accordingly.

Prepare to start stringing

If you’re making a wire bracelet, the first thing you’ll want to do is attach your clasp using a crimp bead. Run the wire through the crimp bead, add the clasp you’ve chosen, thread the wire back through the bead, and use your pliers to secure your work by flattening the bead.

If you’re using string or stretch cord, you can start your bracelet by simply folding a piece of tape over one end to keep the beads from slipping off during the creation process.

String your beads

Now comes the fun part. Start adding your beads to your wire, string, or cord in any pattern or configuration you like. Don’t be afraid to get creative! You can experiment with patterns, alternating bead sizes, spacer beads, or freeform configurations. Make your bracelet your own.

Check your work

As you get closer to finishing the stringing process, check your bracelet every once in a while against your wrist to ensure it will sit correctly and that the beads will fill the cord without becoming overcrowded. If you need to, add or remove some beads until things are just right.

Consider any additions

If you want your bracelet to include any charms or other accessories in addition to just the beads, now is the time to add them. Simply slide them onto your cord or wire and position them as needed or desired between the beads to add some visual interest and personality to your bracelet.

Finish your bracelet

Finish your bracelet by securing your string or cord. If you’re using wire, you’ll need to attach the connection point for your clasp the same way you attached the clasp at the beginning of this process.

If you’re using stretch cord or string, simply tie a nice, secure square knot to complete the process. Be sure to neatly trim any excess string or wire that may be present.

Test your bracelet

Before wearing or gifting your bracelet, give it a quick test first to make sure it fits well and that the clasp works properly (if you did use a clasp). Clasps should be easy to open, close securely, and keep your beads in place.

You’ll also want to look your bracelet over and make sure it looks as lovely and polished as you imagined. Are the beads well-secured? Is the spacing nice and even? Beaded bracelets look best when they’re flawless, so definitely take the time to correct any imperfections you find.

At The Bead Traders, you’ll find a beautiful, well-rounded collection of quality beads, including gemstone and metal options, as well as focal beads. We’re always adding to our catalog, as well, so there’s always something new to discover and add to your repertoire. Browse our selection today, and prepare to be amazed!

Read more
A Dive into the World of Pearls: Freshwater vs. Saltwater - The Bead Traders

A Dive into the World of Pearls: Freshwater vs. Saltwater

When it comes to making an ideal gemstone choice you’ll cherish for years to come, it’s hard to go wrong with pearls. A pearl is a classic choice with the ability to flatter absolutely anyone. Pearls are durable and timeless with the potential to last a lifetime. They’re also strongly associated with concepts like affluence, beauty, elegance, and classic good taste.

However, you shouldn’t assume that all pearls are the same. They come in a variety of different shapes, sizes, colors, and styles. They can also be either freshwater or saltwater. In fact, that’s the first decision you want to make if you’re in the market for pearls – freshwater pearls vs saltwater pearls. Here’s a closer look at what you need to know to make a decision you’ll be happy with.

Freshwater Pearls vs Saltwater Pearls: What Are the Key Differences?

Contrary to what many people believe, oysters aren’t the only mollusks capable of producing pearls. Alternatives like conch, clams, mussels, and abalone can produce them, as well. In fact, you’ll notice that the inside of a mollusk shell often has a similar sheen and luster to an actual pearl.

This is because a mollusk deals with irritants (like sand, parasites, or pearl farmers’ beads) that invade its shell by coating them with layer after layer of calcium carbonate – the same substance that lines the shell itself. Over time, this process results in a substance known as nacre – mother-of-pearl.

Although many different mollusks can and do produce pearls, the most common two options are saltwater oysters and freshwater mussels. Here’s a closer look at some other differences to know.

Geographic origin

Collectively speaking, pearls can originate from many different areas of the world, including but not limited to Australia, the Philippines, Fiji, Mexico, China, Japan, and Thailand. However, most freshwater pearls on the market today come from either China or Japan’s iconic Biwa Lake.

Saltwater pearls, on the other hand, typically come from carefully protected lagoons, bays, and similarly warm bodies of water located throughout Indonesia, Japan, Thailand, Australia, and French Polynesia.

Color

Although pearls are most commonly associated with the color white, they actually come in many different beautiful shades and hues. However, those colors can vary as far as freshwater pearls vs saltwater pearls.

Freshwater pearls tend to closely mirror the natural look and feel of the nacre lining the inside of a mollusk’s shell. Shell nacre can vary quite a bit, so the pearls do, as well. Light, traditional colors like white or cream are common, but so are alternatives like peach, lavender, or pink. In some cases, dye may be added to the pearl to punch up its natural color a bit.

Although saltwater pearls can be bleached to achieve the coveted white color so many people still prefer, they are often actually darker in color. Grey, blue, and similar tones are common, especially among Akoya pearls. However, saltwater pearls can also be black, green, or even deep purple, as with Tahitian pearls. Some options – like the signature pearls of the South Sea – can even be a rich silver or gold.

Luster

Saltwater pearls and freshwater pearls form via similar processes, but they also differ quite a bit due to certain variables.

For example, saltwater pearls usually form quite slowly around solid foundations like farmers’ beads or grains of sand. Meanwhile, freshwater options usually form around a biodegradable irritant that will eventually break down. In these cases, the nacre layers form quickly, making the pearl denser.

These formation differences result in differing lusters. Freshwater pearls have a soft, misty luster to them, while saltwater pearls are hyper-brilliant, sometimes even exhibiting a mirror-esque surface.

Shape

When pearls form around organic material, as with many freshwater pearls, it’s more common for the shape to be irregular and organic, as well. Alternatively, saltwater pearls usually form around round beads or similar objects, resulting in the smooth, symmetrical appearance many people associate with classic pearls.

Contrary to what some believe, the organic, unusual shape associated with many freshwater pearls is not proof that they’re naturally occurring (as opposed to cultured). Natural pearls do exist. However, they’re very rare, so most commercial pearls are the result of human intervention.

Overall value

As with other types of gemstones, scarcity has a lot to do with the value of each pearl type, and there are some pretty profound differences between freshwater and saltwater varieties.

Saltwater pearls usually originate from oysters that only produce a single pearl at a time. Many will also produce only one pearl over an entire lifetime. Naturally, these pearls are much harder to cultivate, significantly rarer, and more valuable, as a result. (Prices also reflect this.)

Meanwhile, the mussels and other mollusks responsible for freshwater pearls are usually capable of producing up to 120 pearls at one time. They’re also easier to farm, even in large quantities, so they tend to be more affordable.

There are fewer restrictions and regulations limiting the number of freshwater pearls a cultivator can produce, as well.

Freshwater Pearls vs Saltwater Pearls: Which Is a Better Choice for You?

Both saltwater and freshwater pearls are beautiful, elegant, and representative of a wonderful investment. Both make incredible gemstone choices that would flatter anyone. However, certain factors might definitely make one a better choice for a particular buyer than the other.

Here are some examples to consider when weighing your personal options:

  • Size: If you prefer bigger pearls, saltwater options might be more your speed. However, those who love the look and feel of smaller alternatives should take a closer look at freshwater.
  • Color: If you’re like most jewelry lovers, color matters when it comes to your choices. Both saltwater and freshwater options come in a variety of different tones. However, freshwater pearls tend to be lighter, while darker, more dramatic pearls are usually saltwater.
  • Shine: If you’re after a mirror-like gleam when it comes to your pearls, go for round, symmetrical saltwater pearls. However, if you love a softer, dewier glow, freshwater pearls are your choice.
  • Shape: Pearls with unusual, irregular shapes are trendier than ever right now, and you’re more likely to see those when shopping for freshwater pearls. However, if you prefer perfectly round, classic pearls, go for saltwater.
  • Budget: Price tag will naturally be a primary concern for anyone in the market for jewelry. Freshwater pearls are a much more wallet-friendly option in this regard, while saltwater pearls sometimes carry a prestige factor because of their cost.

How you plan on wearing your pearls may influence your decision, as well. Freshwater pearls make a solid option for dressing up work outfits or otherwise wearing for everyday purposes. But if you’re the type who prefers to break out the pearls only for special occasions, the flawless perfection of a saltwater pearl option may be a better choice.

Whichever option you choose as far as freshwater pearls vs saltwater pearls, one thing’s for sure. You’re making an excellent, tasteful choice you’re sure to treasure for the rest of your life. Explore your options today, and treat your style to the ultimate upgrade.

Read more

The Bead Traders Wholesale Beads & Jewelry Supplies

Net Orders Checkout

Item Price Qty Total
Subtotal $0.00
Shipping
Total

Shipping Address

Shipping Methods