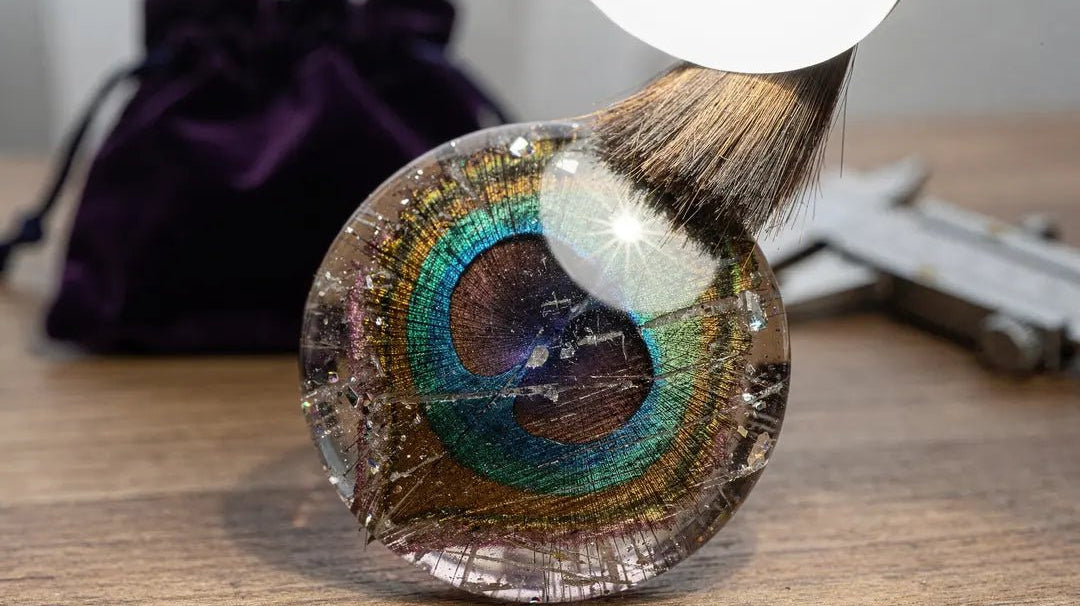
But you can learn to take fabulous photos with your phone! Smartphone technology continues to grow by leaps and bounds, and each new version introduces a more recent and better camera. With a few tricks and a little practice, your photos will shine! Here are a few tips to get you started:
Get to know your smartphone camera
Choose the right lens and camera mode. If your smartphone has a single lens, it is probably a wide-angle lens. If your phone has two or more lenses, one might be a telephoto lens or macro lens. A telephoto lens is preferred for jewelry photography because it provides optical zoom, which enlarges the image while keeping the resolution and sharpness.
Wide-angle lenses have digital zoom, which simply crop a section of the image and enlarges that section. If you only have one lens, be sure to get close to your subject rather than zooming in.
If you have the option of a telephoto lens - use that for your jewelry photography. With optical zoom, you will get higher-resolution images.
Your phone probably has several camera modes. The best option for photographing pieces of jewelry is the PRO mode. Using PRO mode will allow you to adjust camera settings like shutter speed and exposure.
Lighting
Lighting is probably the most critical aspect in creating beautiful images.
Don’t use your phone’s flash because it produces a flat image. Side lighting will create photos with more depth and light.
- If you can shoot outdoors, in the shade, that will be your best option
- The best lighting is natural light. You can use lamps, but sunlight will produce the best results. Place your jewelry at an angle instead of directly in front of the light source.
- To reduce shadows, you can place a white foam board on the opposite side of the subject from your light source. This will bounce the light back onto the piece.
- If the sunlight seems too harsh, diffuse the light with a light tent or white tracing paper.
- Don’t mix light sources. Use sunlight or artificial light - not both. If you are using lamps - use the same type of bulbs.
- If you are photographing a transparent stone, use backlighting to show it off.
Image resolution
Set your android to save the largest possible files with the highest resolution. Starting large will allow you to reduce file sizes as needed. If your files are small, and you have to enlarge them, you will have grainy images. (iPhones do not have this setting without using a third-party app.)
- When working with the PRO mode on your camera, you’ll want to use full saturation mode.
- Decide what you want to focus on in your photo, tap on that item, and it will jump into focus.
- If you are using artificial light, you may need to play with the white balance in manual mode or try some of the presets. Adjust as necessary to get the cleanest colors of your piece.
- Focus is vital to getting the best image. There are several tricks to making sure your item is in focus. We discuss them below when talking about the tripod.
Eye-pleasing arrangements
In addition to good lighting and focus, there are techniques to arranging your jewelry to create professional-style photos.
- Use the grid feature on your phone to help you place items. Placing your featured item (pendant or stone) at the intersection of two gridlines will help it stand out.
- Rule of odds. It is more pleasing to the eye to view displays with an odd number of items. If you surround your piece with some simple props - three or five is a good number to use.
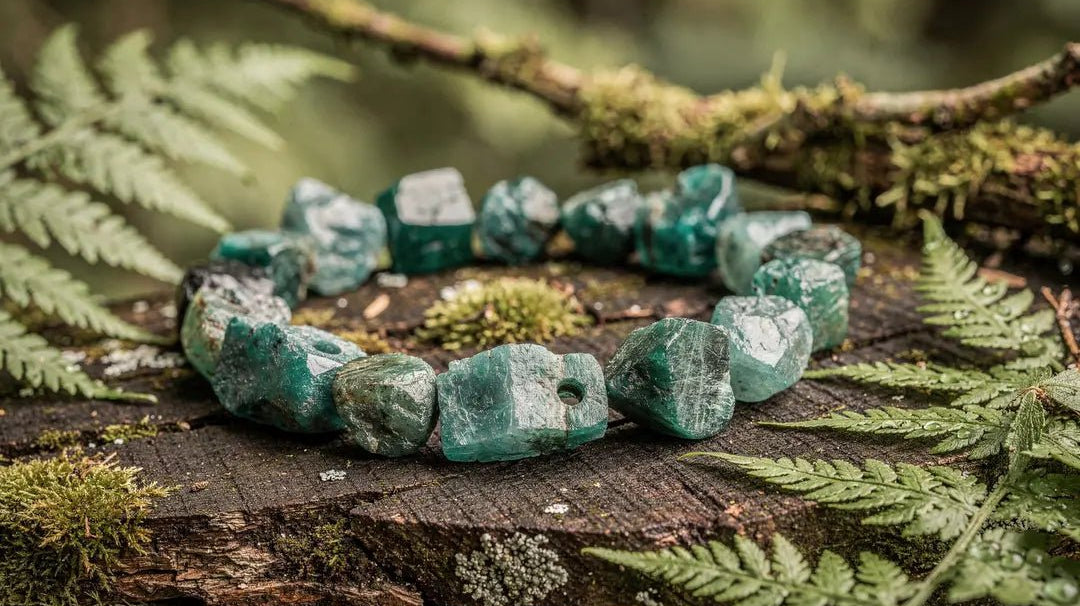
- Paper, not cloth. When placing your jewelry for photographs - use the smoothest possible surface. Paper is a good choice, as the details in the fabric can be distracting in close-up photography. You can also try tile or plexiglass.
- Use a dust blower (canned air) to clear away any specks of dust. It also helps to handle your items with cotton gloves or tweezers.
Useful Equipment
Handy accessories will enhance your photography.
- A tripod. You can use a simple table-top one or a regular one with an attachment for your camera. One of the most common mistakes people make is not recognizing the camera shake when they push the shutter button. You must have your camera completely still to get a quality image. Your phone offers several ways to click a picture without touching the phone itself.
- Remote shutter release (iPhone have these on your earphones)
- Voice-activated - found in your phone settings
- Timer (you press the shutter, but the photo doesn't take for a few seconds)
- Burst mode - takes several shots, and you can choose the best one

Any of these will ensure that the camera doesn’t move when you take the picture. Explore the various options on your camera, and find what works for you.
- A lightbox. Using a lightbox will ensure that you don't have any dark corners or shadows. It will also help you to keep your whites the same shade of white. Consistency in composition is key to professional-looking shots.
- A white foam board. If you don't have a lightbox, you can use a simple white foam board positioned opposite your light source (preferably sunlight) to serve as a reflective surface.
- Clip-on lenses. If you find that your smartphone's built-in lens is too limited,you may want to invest in a clip-on lens. This accessory can offer better zoom, focus, and other effects.
Other Tips
- Clean your jewelry and camera lens. This might seem obvious, but it is easy to forget that a slight smudge or speck on your camera lens can ruin your photos before you even really get started.
- Keep your background simple. There is no need to be flashy with your background. You want the focus to be on the jewelry. A white background is considered by many to be ideal for jewelry.
- Check your reflections. Gemstones and metal will naturally reflect light. Check your pictures for reflections from your camera or light sources. Try taking shots from different angles to eliminate reflections.
- Editing, editing, editing. Your phone has lots of editing features. You can read up or watch videos on these and how to install editing apps for your particular phone. Learning how to edit will make a huge difference in your final result.
- Take multiple images. Customers are more comfortable purchasing an item if they can view it from different angles first. More points of view can produce more sales. In addition to different angles, you can focus on specific parts of the piece that you want to highlight.
Conclusion
By using these techniques and photography tips, your images will stand out and be more memorable. Jewelry photography is fun and satisfying. Enjoy the process of experimenting with your smartphone and various apps to get the best product image. You’ll see a spike in customer interest and sales when your photographs are clear and highlight the beauty in your jewelry.