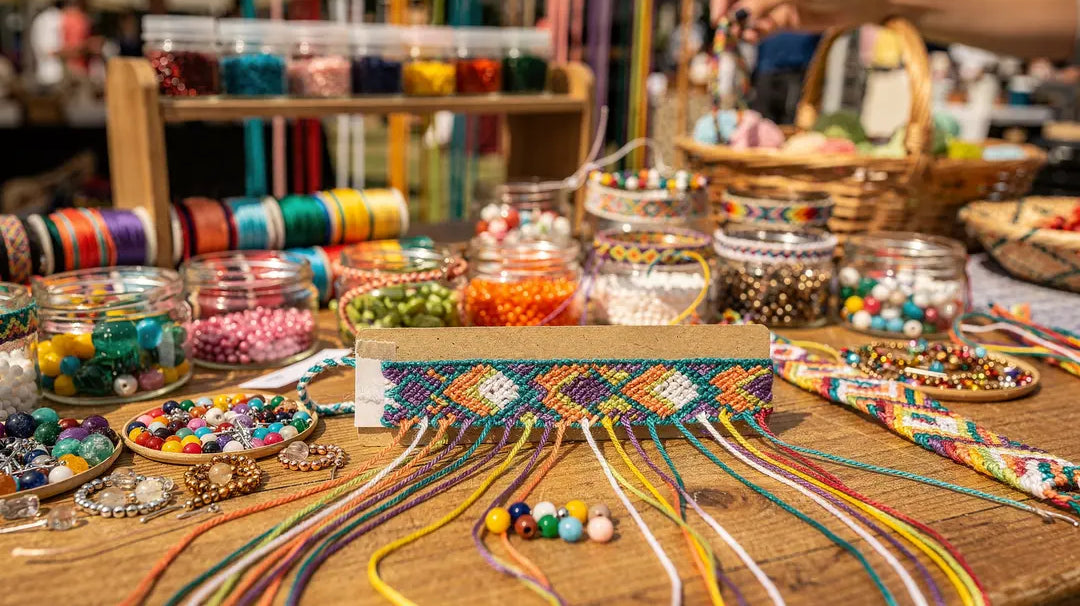
Friendship bracelets have always been a meaningful way to celebrate connection, creativity, and personal style. However, while knotted designs are timeliness, adding beads brings extra color, texture, and personality to every bracelet.
The best part? Beaded friendship bracelets are easy to customize. You can keep things simple with colorful seed beads or create a more elevated design using clear quartz beads, freshwater pearls, and gemstone beads. Ultimately, no two bracelets have to look exactly alike.
Below, we're sharing a go-to beaded friendship bracelet tutorial. We'll discuss which supplies you need, how to choose the right beads, and how to create a unique piece perfect for any friend.
What Makes Beaded Friendship Bracelets So Fun to Make?
Friendship bracelets have a long history as handmade symbols of connection and care. Rooted in Indigenous crafts across Central and South America and decorative knotting traditions in ancient China, these bracelets have been exchanged for generations as tokens of appreciation.
By adding beads, a simple bracelet can quickly become something unique through the colors, materials, and combinations. And that's what makes beaded friendship bracelets so fun to create! You can incorporate a friend's favorite color, add meaningful gemstone beads, include letter beads with initials, or design a pattern that reflects a special interest. The possibilities are virtually endless.
Whether you're crafting with kids, making gifts for friends, or looking for a quick jewelry project, beaded friendship bracelets are approachable, creative, and genuinely meaningful. Plus, they're simple enough for beginners while still offering plenty of room for more detailed and intricate designs.
Interested in learning more? Visit our guide, "Beading 101: How to Get Started Making Jewelry."
Supplies You'll Need Before You Start
The exact supplies you'll need depend on the style of bracelet you're making. For example, a stretchy stacked bracelet requires different materials than a friendship bracelet made with cord and a clasp. However, most projects share a few essentials.
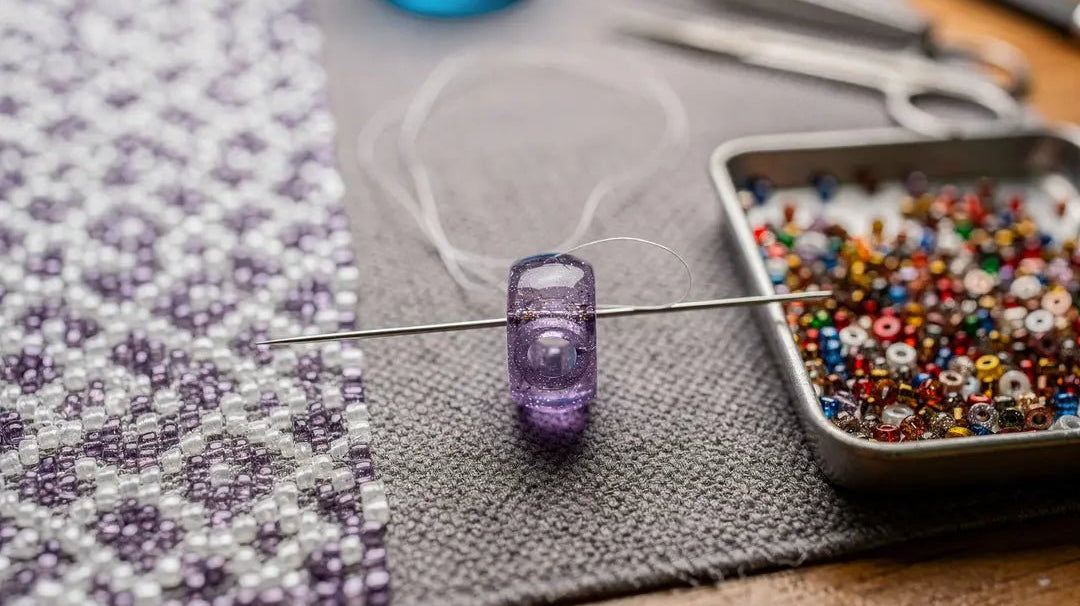
At minimum, you'll need beads, stringing materials, scissors, and a ruler or measuring tape. It can also help to have something that holds one end of the bracelet in place while you work, such as tape, a clipboard, or a bead board. If you're using smaller beads with narrow holes, a beading needle can make threading significantly easier.
Choosing the Right Beads
Small, lightweight beads are often the most comfortable for everyday wear. In general, beads between 4mm and 8mm offer a good balance of visual impact and wearability. Larger beads can create a bold look, but may feel bulky or add unnecessary weight to the bracelet. If you're interested in learning more about this concept, make sure to review our beaded earrings guide!
When selecting beads, look for consistent shapes, clean drilling, and smooth surfaces. Uniform beads are easier to string and help the finished bracelet look more polished and professional.
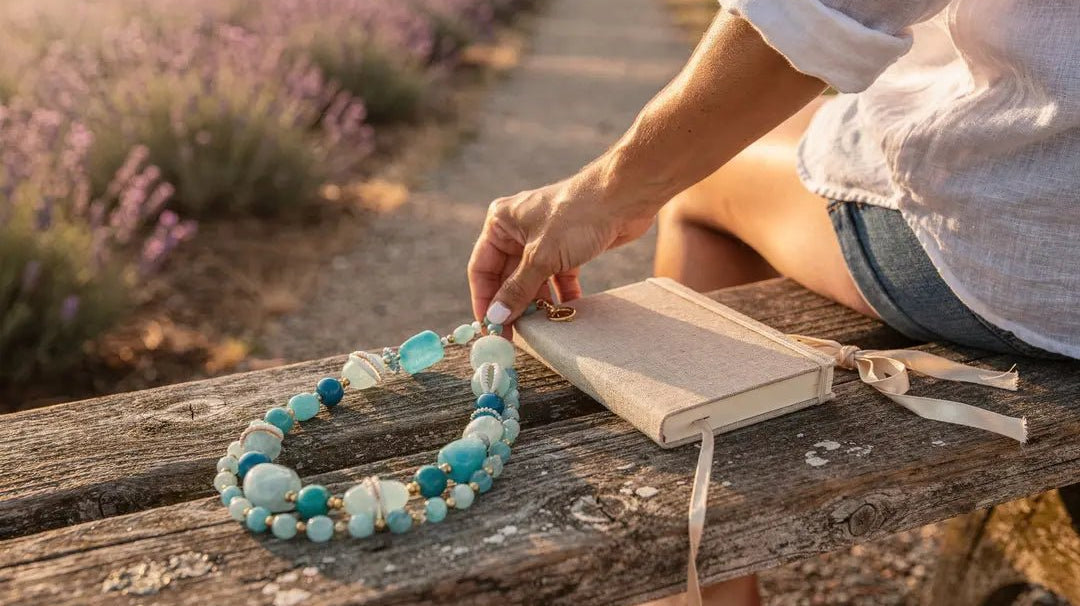
For a more elevated design, consider using gemstone beads. They're generally more durable than plastic alternatives and offer a more natural look that feels more like fine jewelry than a craft project. Additionally, freshwater pearls are a great option for softer, more delicate bracelets, while metal beads and spacers can add contrast, structure, and visual interest.
Choosing Cord, Thread, or Elastic
There's no universal best stringing material for beaded friendship bracelets. Ultimately, the most ideal choice depends on the type of bracelet you want to make.
For example, embroidery floss is the traditional choice for knotted friendship bracelets because it's easy to work with, available in countless colors, and holds knots securely. For stretchy bracelets, an elastic cord is typically the best option so long as you pre-stretch the elastic before stringing your beads. (This helps prevent sagging over time!)
If you're creating a bead-woven design or pattern that requires multiple passes through the same bead, nylon thread offers flexibility and durability. And for bracelets that use a clasp, especially those featuring heavier gemstone or metal beads, flexible beading wire is often the strongest and most reliable choice.
Before you begin, make sure your chosen cord, thread, or wire fits comfortably through the bead holes. Checking compatibility ahead of time can save a lot of frustration later.
If you need help during this process, our Bead Hole Size Guide can serve as an essential resource.
Optional Findings and Finishing Pieces
While not required, a few basic findings can give your bracelet more polished, professional appearance. Crimp beads or crimp tubes, for example, are commonly used to secure beading wire to a clasp, while jump rings help connect different components. If your design uses knots, bead tips can conceal them for a cleaner finish.
Additionally, you can incorporate spacer beads into your design to create separation between larger focal beads, add visual balance, and introduce extra texture to the project. Charms and chain extenders are popular additions as well, especially if you want the bracelet to feel more personalized or offer an adjustable fit.
These small touches can make a noticeable difference in the final look and functionality of the bracelet.
Beaded Friendship Bracelet Tutorial: Simple Step-by-Step Method
This beginner-friendly method works for most beaded friendship bracelet styles, whether you're using elastic cord, embroidery floss, nylon thread, or beading wire. While the finishing technique may vary depending on your materials, the overall process remains largely the same
Once you learn the basics below, it's easy to customize the design with different beads, colors, and patterns.
Step 1: Measure Your Wrist and Cut the Cord
Start by measuring your wrist and adding an extra 5 to 6 inches to account for knots, clasps, or other finishing techniques. While bracelet sizes vary by person, many adult bracelets fall in the 7- to 8-inch range, with children's bracelets typically measuring a bit smaller.
If you're making the bracelet as a gift and can't measure the recipient's wrist, a finished length of around 7 inches is usually a good starting point for most adults. It's also better to cut your cord slightly longer than you think you'll need. Having extra material makes stringing and finishing much easier, while a cord that's too short can be difficult, or impossible, to fix once you've started.
For a similar guide, we discussed this concept in our post: "How To Make High-Quality Jade Bead Bracelets."
Step 2: Plan Your Bead Pattern
Before you begin stringing, arrange your beads in the order you want them to appear on the finished bracelet. A bead board can be extremely helpful in the design planning process. However, a bead mat, towel, or folded piece of fabric can work just as well.
Take a few minutes to lay out your pattern beforehand. This makes it easier to experiment with color combinations, adjust spacing, and ensure the overall design looks balanced. It also prevents mistakes that are much harder to fix once the beads are already strung.
If you're new to bracelet making, begin with a simple pattern. Alternating two colors, placing a larger focal bead in the center, or using metal spacer beads between gemstone beads are all easy ways to create a polished design without overcomplicating things.
For inspiration, make sure to read our post, "10 Beading Color Patterns to Reflect Your Mood and Energy."
Step 3: Secure One End Before Stringing
Before adding any beads, secure one end of your cord, thread, or wire. You can do this by taping it to the table, clipping it to a clipboard, or tying a temporary knot on the end. This is essential, as it prevents the beads from slipping off as you work.
This simple step, ultimately, makes the entire process easier and helps keep your pattern organized. Beyond this, it's especially helpful when you're working with an elastic cord, which can be particularly difficult to control. Taking a moment to secure the strand now can save you from having to restring beads later.
Step 4: Add the Beads
String the beads onto your cord in the pattern you planned, checking the design periodically This helps ensure the colors, spacing, and overall layout look the way you intended before you reach the finishing stage.
As the bracelet fills up, make sure it remains flexible and comfortable. Most importantly, avoid packing the beads too tightly together. A little extra space allows the bracelet to drop naturally and reduces strain on the cord over time.
If you're using a mix of bead sizes and materials, try to distribute the larger or heavier beads evenly throughout the design. This creates a better balance and helps ensure the finished bracelet fits more comfortably on the wrist.
Need a few pointers? Look no further than our post, "Crafting with Gemstone Beads: Step-by-Step DIY Jewelry Guide."
Step 5: Tie Secure Knots or Add a Clasp
Once all of your beads are in place, it's time to finish the bracelet, However, the method you use will depend on your stringing material.
For an elastic cord, a surgeon's knot is one of the most reliable options. After tying the knot, pull it snug and consider adding a small. drop of jewelry adhesive for extra durability. Once the glue dries, trim any excess cord and, if possible, hide the knot inside a nearby bead for a cleaner appearance.
If you're using beading wire or a clasp, secure each end with a crimp bead or crimp tube. Thread the wire through the clasp, loop it back through the crimp, and use crimping pliers to secure it in place. Then, repeat the process on the opposite end to complete the bracelet.
Taking a little extra time during this step helps ensure the bracelet stays secure and wearable—for years to come.
Step 6: Trim and Test the Fit
After securing the knots or clasps, test the bracelet's fit before trimming any excess cord or wire. The bracelet should feel comfortable on the wrist, with enough room to move naturally without feeling too tight or overly loose.
Once you're happy with the fit, carefully trim any excess material to close the knot, crimp, or finishing point. Following this, take a moment to inspect the bracelet for any exposed wire ends, rough edges, or anything that could catch on clothing or irritate the skin.
A quick final check helps ensure the bracelet is both comfortable to wear and durable enough for everyday use.
Easy Design Ideas to Personalize Your Bracelet
Once you've mastered the basic technique, there are countless ways to customize your bracelet. For friendship bracelets in particular, one popular option is using the same colors in different patterns. This keeps the design connected while still giving each bracelet its own personality.
For a more understated look, try a simple strand featuring one or two gemstone focal beads separated by metal spacers. Or, if you prefer something softer and more elegant, combining freshwater pearls with colorful cord can create a refined yet casual style.
Additionally, incorporating letter beads to spell out a name, initials, a meaningful word, or a favorite phrase is an effortless way to make a friendship bracelet more personal. Small design choices can transform simple bracelets into a one-of-a-kind gift.
Color Meaning and Symbolism
Color is one of the simplest ways to make a friendship bracelet feel more personal and meaningful. Many people associate blue with loyalty and trust, green with growth and balance, pink with affection, and yellow with happiness.
Of course, however, color symbolism is highly personal, and there are no strict rules jewelry makers must follow. Sometimes, the most meaningful choice is simply using a friend's favorite color or selecting shades that remind you of a shared memory, hobby, or experience.
For those wanting to create an intentional design, consider how colors can work together through contrast, saturation, and tone. These color combinations can help give your bracelet a specific mood while making the overall design feel more cohesive.
Not sure where to start? Begin with our post, "10 Gemstone Bead Color Combinations Using Color Theory."
Gemstone-Inspired Friendship Bracelets
Gemstone beads are a great way to add both visual interest and personal meaning to a friendship bracelet. In addition to their natural beauty, many gemstones have long been associated with different qualities and symbolic meanings.
For example, garnet is often connected to loyalty and friendship, rose quartz is associated with compassion and affection, amethyst is commonly linked to calm and clarity, and aquamarine is often associated with courage and protection.
Whether or not you follow gemstone symbolism is entirely up to you. However, these stones do an excellent job at making a bracelet feel more thoughtful and unique.
If you're interested in reviewing your options, check out The Bead Traders variety of gemstone beads! With all different colors, shapes, styles, and cuts, it becomes easy to create a bracelet that feels both elevated and personal.
Tips for Making Your Bracelet Last Longer
A few simple tips can go a long way in making your friendship bracelet last longer. First, start by choosing a stringing material that's appropriate for the beads you're using. Heavier gemstone beads, for example, are typically better suited to beading wire than thin elastic cord.
If you're using elastic, make sure to pre-stretch it before stringing. Also, consider reinforcing the final knot with a small amount of jewelry adhesive. Taking extra care during the finishing stage can significantly improve the bracelet's durability.
To protect your bracelet, avoid prolonged exposure to water, lotions, perfumes, and other personal care products. And when it's not in use, store it in a pouch, jewelry box, or separate compartment to prevent tangling and scratches. Also, if your design includes softer gemstones, keep them away from harder stones that could potentially damage their surface over time.
You can learn more about this approach in our post, "Care, Cleaning, and Storage Guide for Biwa Pearl Beads."
Common Beginner Mistakes to Avoid
Most beginner bracelet-making mistakes are easy to prevent with a little planning. More specifically, make sure to avoid:
- Cutting cord too short before you account for knots or crimps
- Not checking bead hole sizes against your cord or wire before starting
- Making the bracelet too tight with no room for flexibility
- Loading too many heavy beads onto a single strand
- Forgetting to secure the end before stringing, so beads slide off
- Trimming knots before testing the fit and confirming they're secure
Taking a few extra minutes during these extra steps can save a lot of frustration later in the process. Additionally, it helps ensure your finished bracelet is both durable and comfortable.
Make your own meaningful friendship bracelet by shopping at The Bead Traders!
A handmade bracelet doesn't need to be complicated to feel special. This beaded friendship bracelet tutorial gives you a straightforward process you can repeat, adapt, and build on. Start with a simple pattern and materials you already have, or use it as a reason to try something new.
At The Bead Traders, we carry a variety of gemstone beads, freshwater pearls, metal beads and findings, and chain by the foot, all perfect for jewelry makers who want to go beyond basic craft supplies.
Also, don't forget to check our new arrivals section so you don't miss any new products. U.S. orders over $100 qualify for free shipping and returns, so it's easy to order a range of beads and experiment before committing to a final design.