


How to Make a Bracelet with Beads
Naturally, you can always buy cute beaded jewelry readymade for yourself or a loved one. But there’s just something about a piece you planned and created with your very own hands.
Making your own beaded jewelry is a terrific way to add a touch of personal flair to your accessory collection or spend a Sunday afternoon doing something creative. As a hobby, it’s affordable, fun, and relaxing. And truly beautiful beaded jewelry is easier than you think to make, even for beginners.
Beaded bracelets are terrific items to start with for lots of reasons. They’re approachable, easy to wear, and versatile. Here’s a closer look at how to make a bracelet with beads that you’re sure to love, as well as how to get the absolute most out of your new hobby.
What Types of Bracelets Can You Make with Beads?
Don’t assume that if you’ve seen one beaded bracelet, you’ve seen them all. There are lots of different kinds to consider, each with its own unique vibe and style. The following are just a few popular options to consider.
Stretch bracelets
If you’re a beginner looking for an approachable way to get started with beaded bracelets, stretch bracelets are a great option. There’s no need to worry about clasps or wiring, as you simply stack the beads onto a stretch cord that expands to fit your wrist.
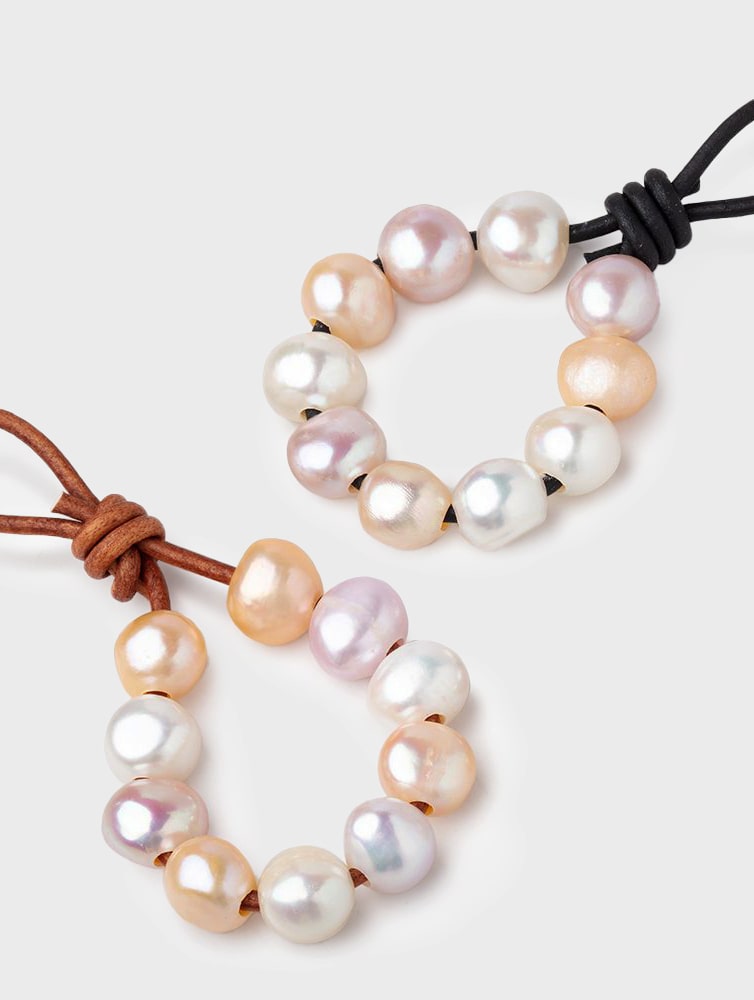
Friendship bracelets
Although there are many different ways to approach friendship bracelets, most combine simple knots with beautiful beads to create beautifully unique patterns. Friendship bracelets are perfect for gifting or trading with friends, family members, children, etc.
Wire-wrapped bracelets
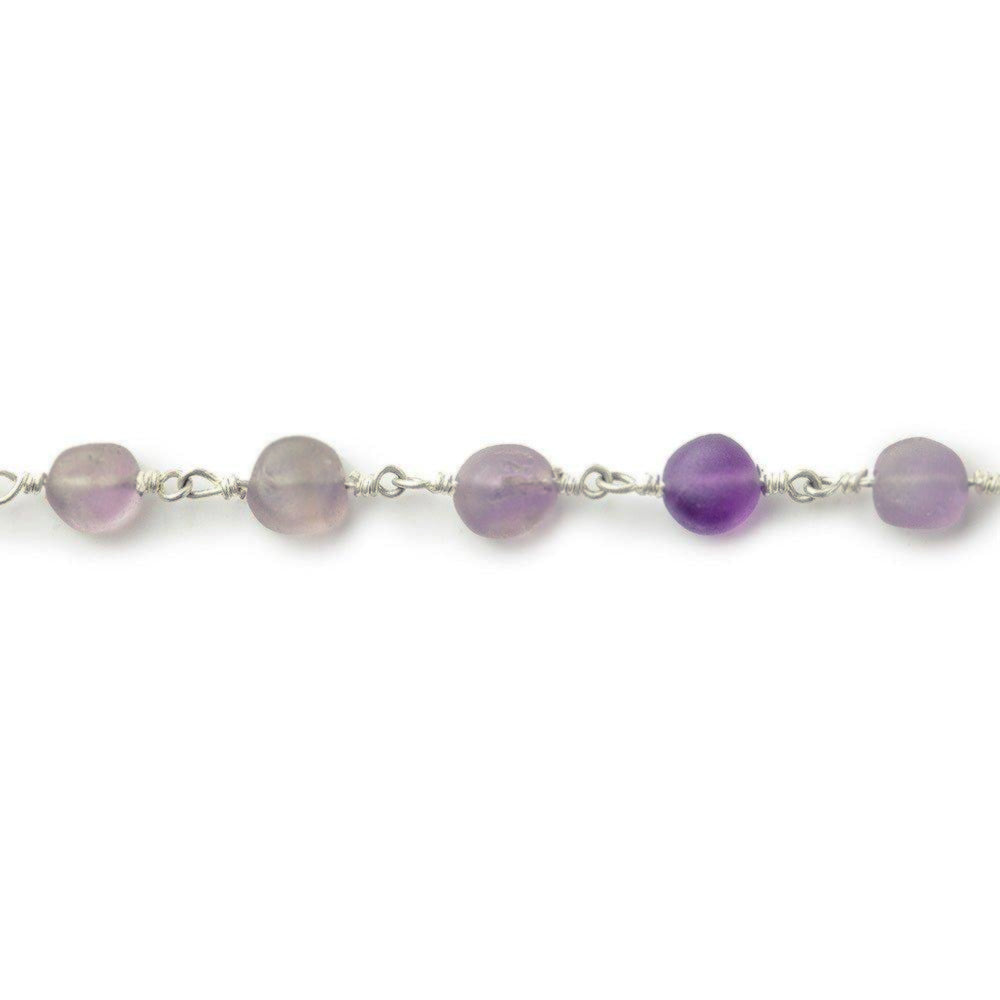
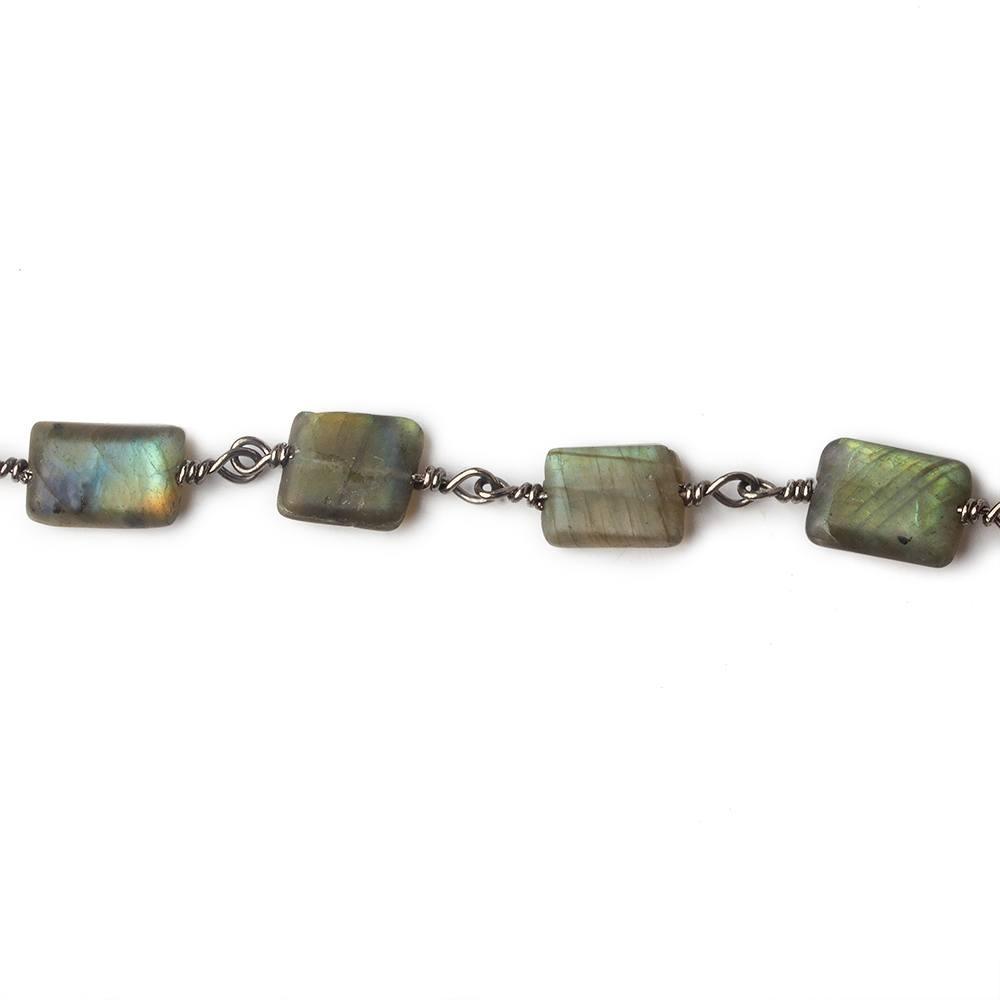
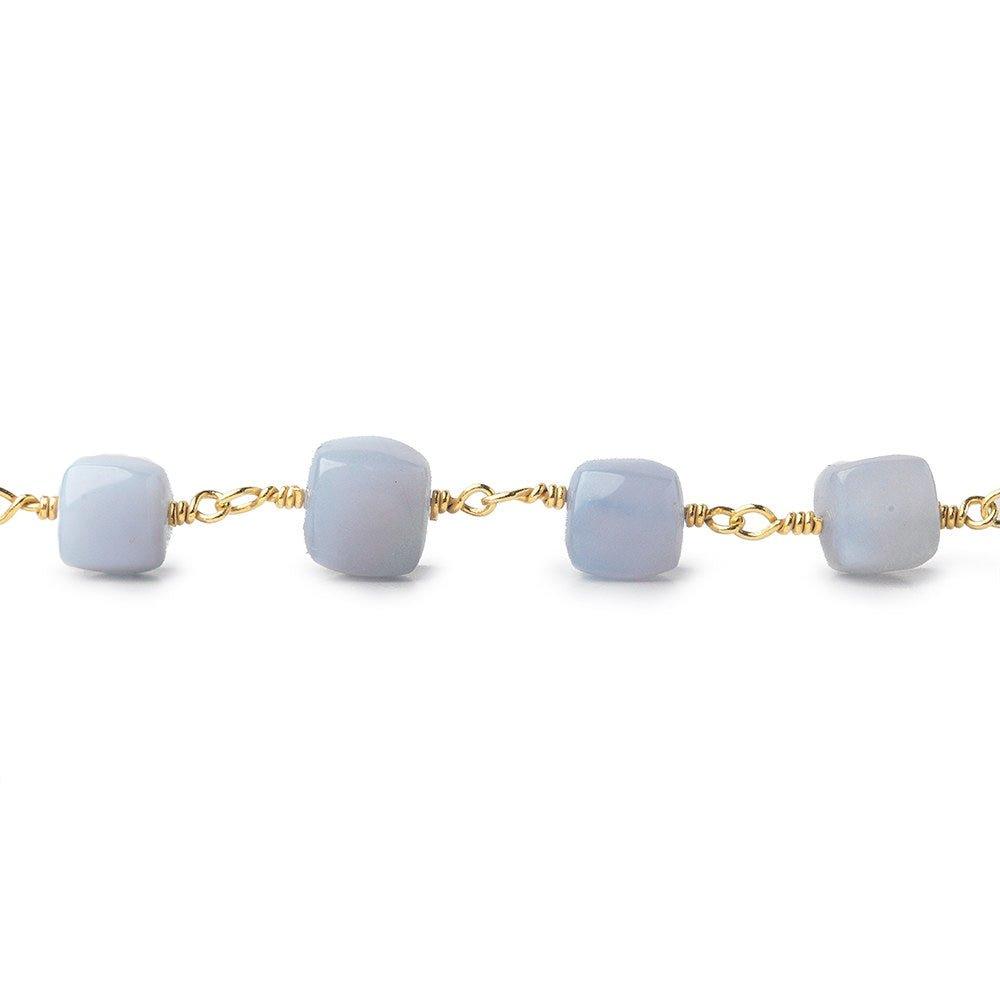
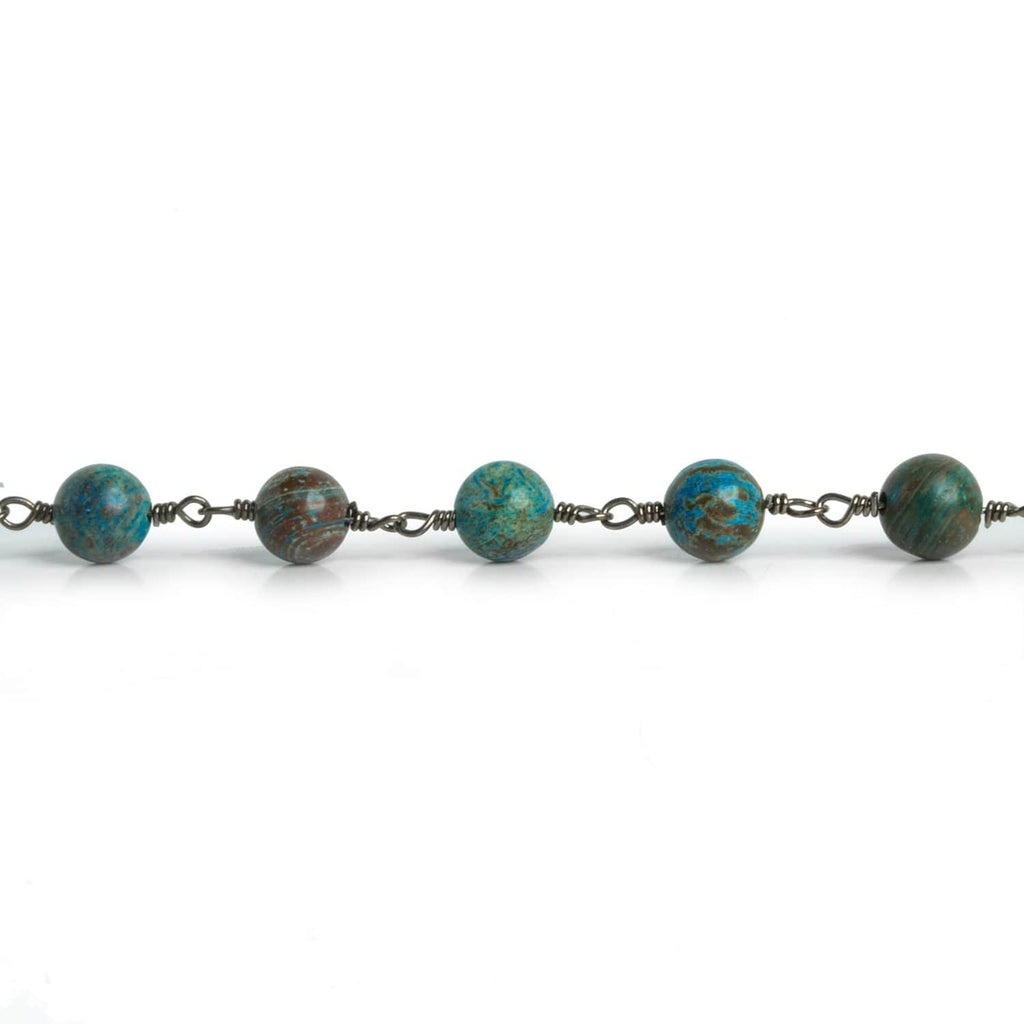
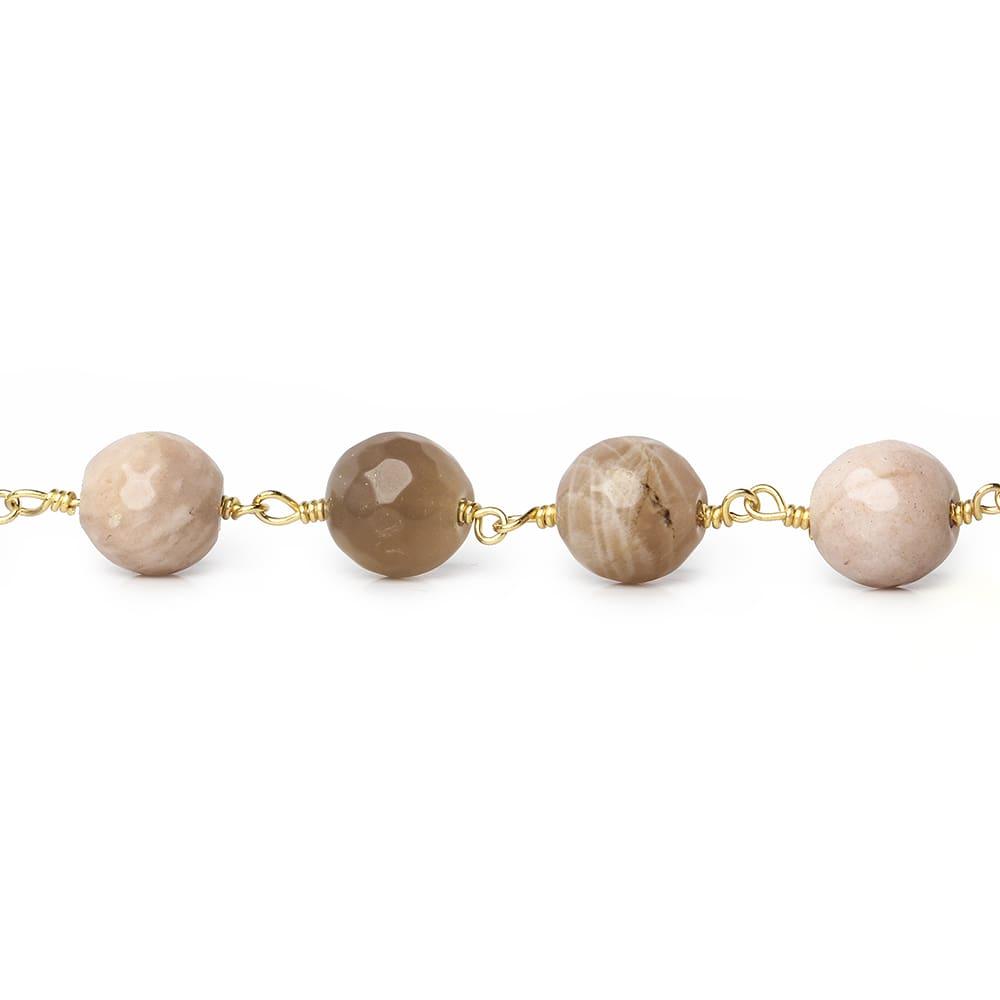
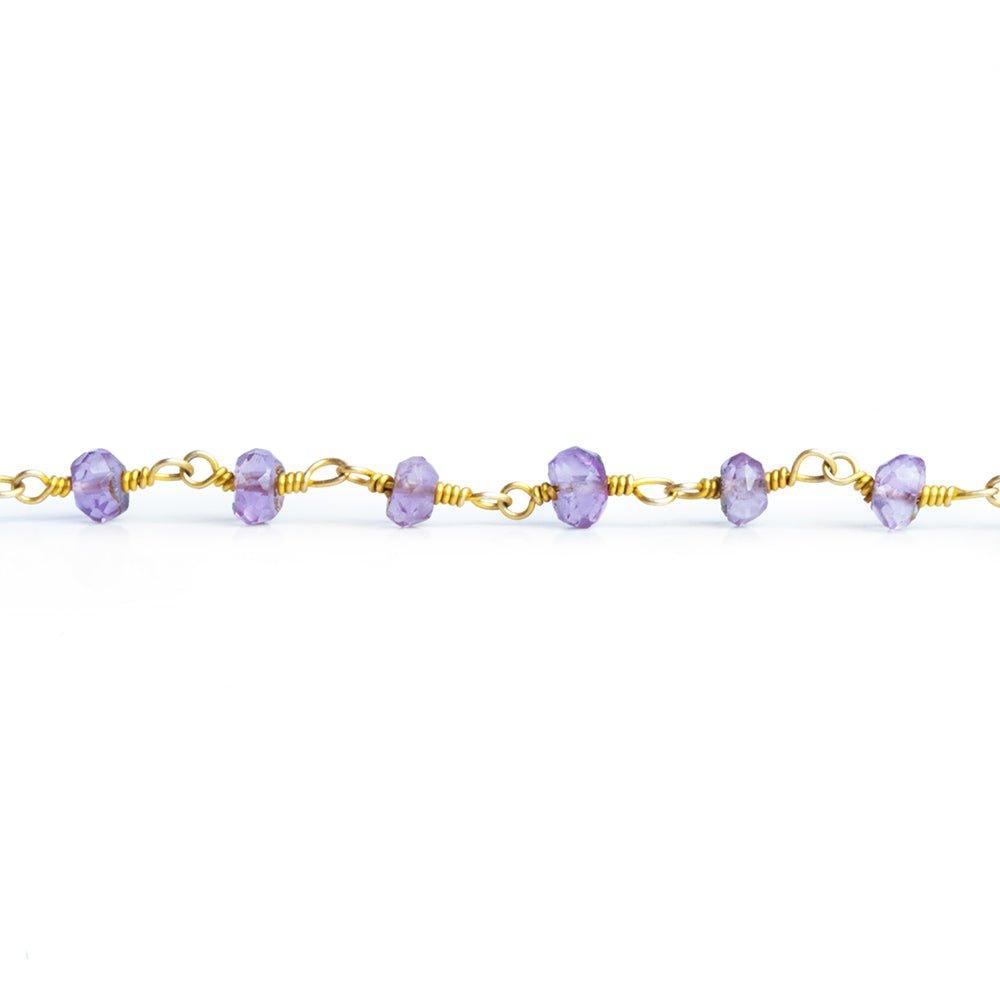
If you’re looking to achieve a more elegant, refined look to your bracelets, wire-wrapped options are a great choice. Wire wrapping involves using thin jewelry wire to create patterns that include gemstones, crystals, beads, focal items, and more.
Beaded cuff bracelets
Cuff-style bracelets allow for lots of elaborate beadwork, creative patterns, and different gemstones. A sturdy base makes all this possible, making it a favorite approach for jewelry makers who love to let their uniquely creative spirits run wild.
Charm bracelets
One way to add a quirky, fun touch of personality to a beaded bracelet is to turn it into a charm bracelet. The charms dangle freely from the bracelet and come in many different styles, making them a wonderful way to customize your work.
What Materials Do You Need to Start Making Beaded Bracelets?
Before you get to work on your first bracelet, you’ll want to gather all the materials you’ll need so everything’s on hand. Here’s a simple list of basics to get you started:
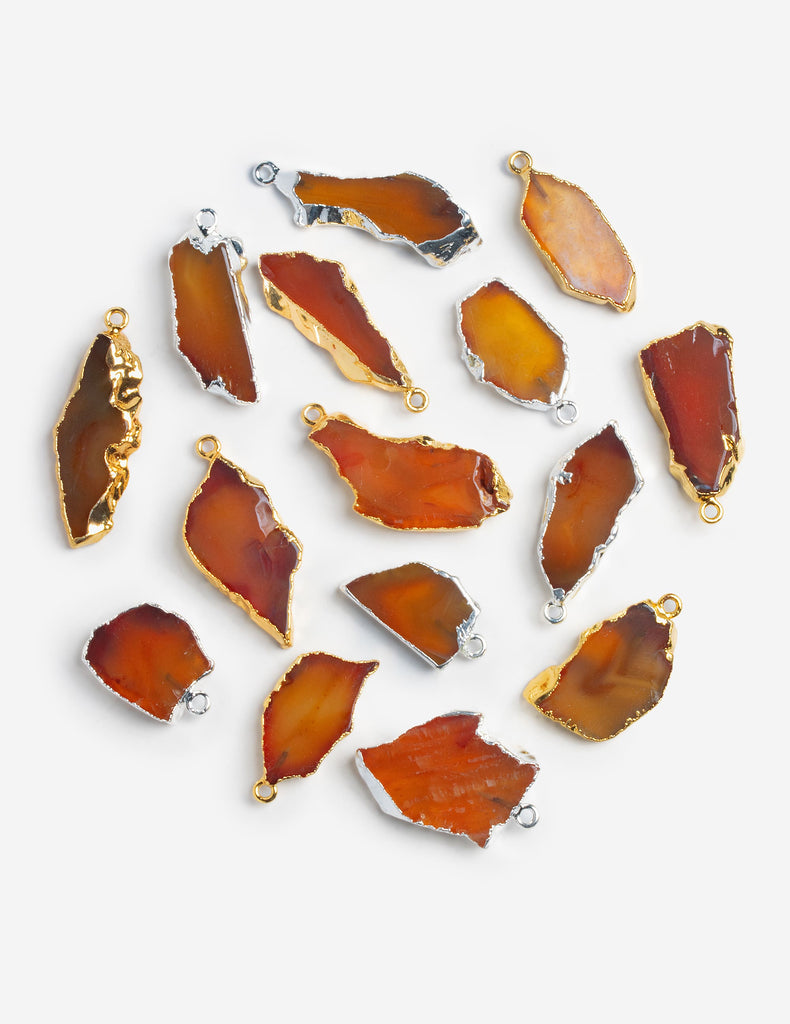
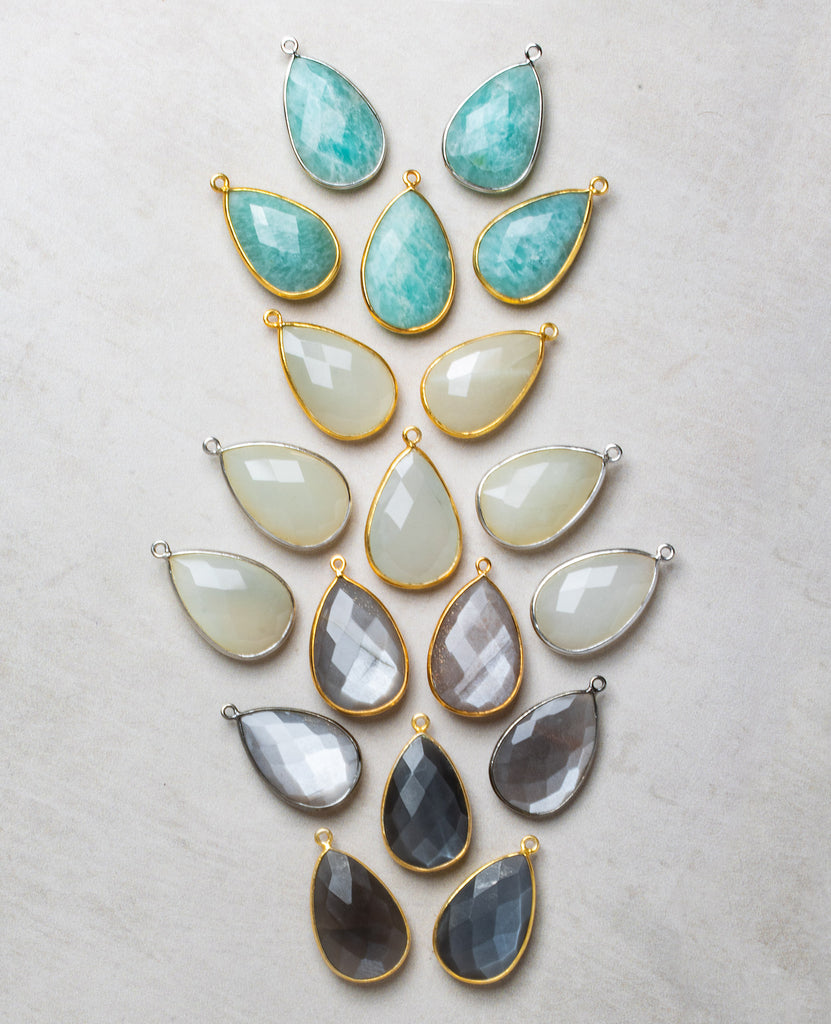
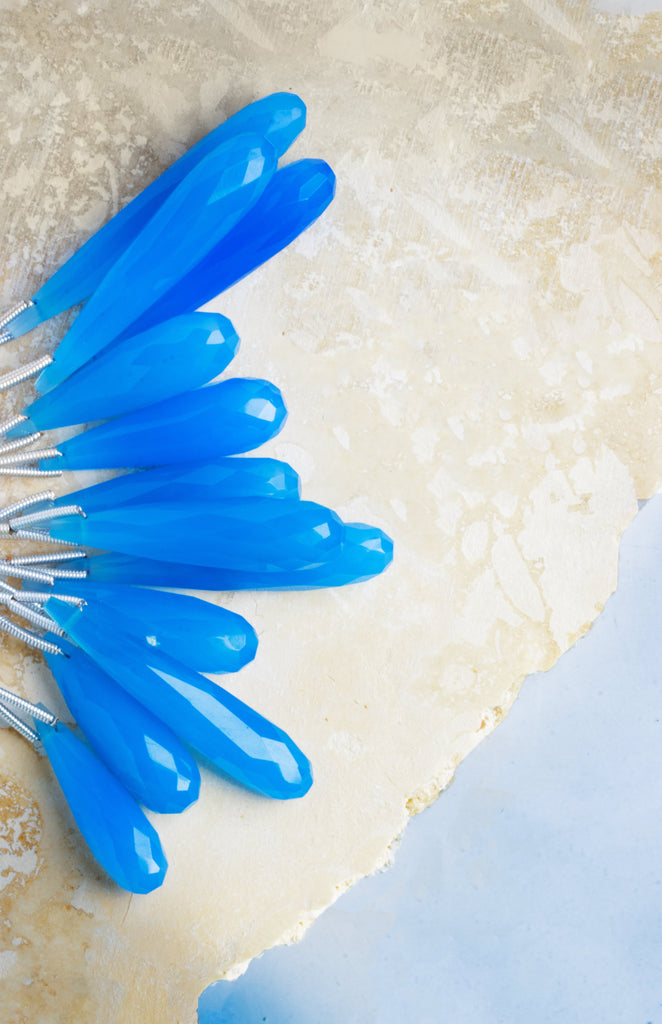
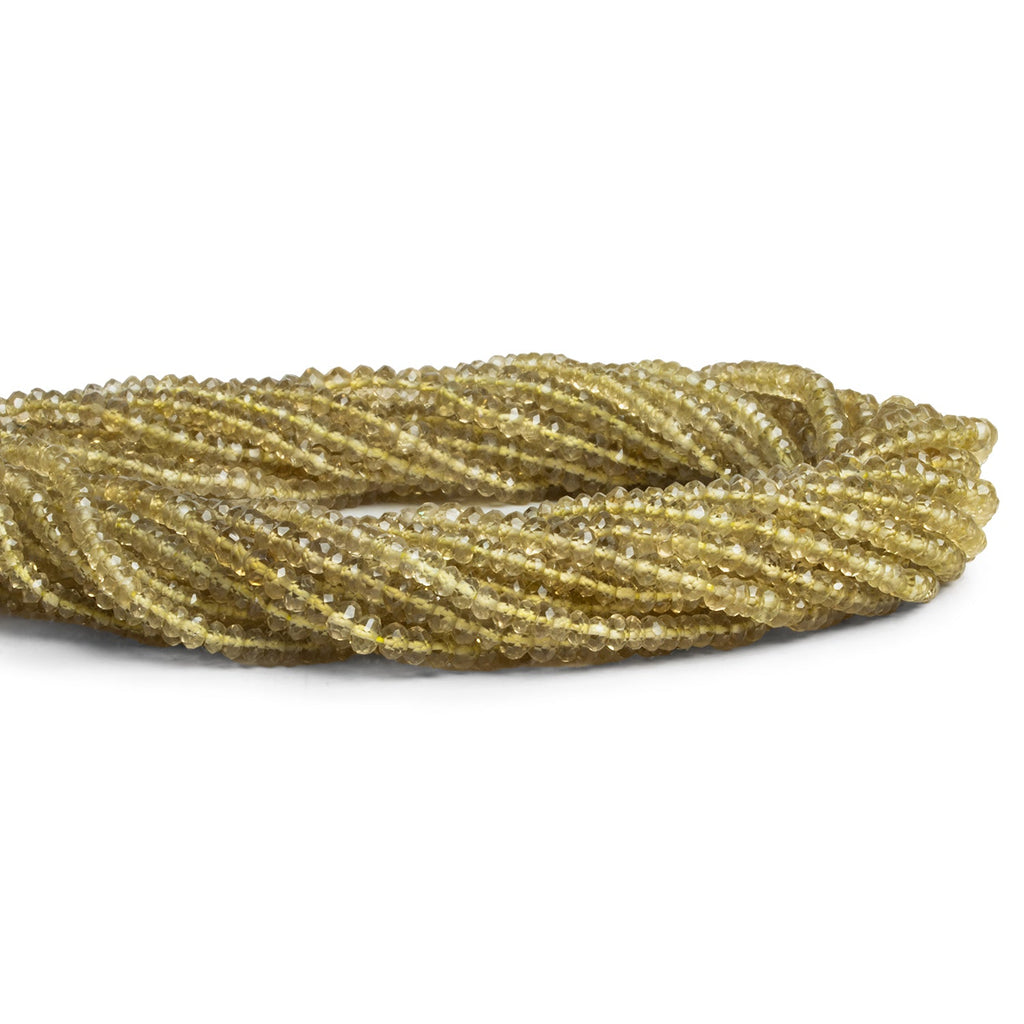
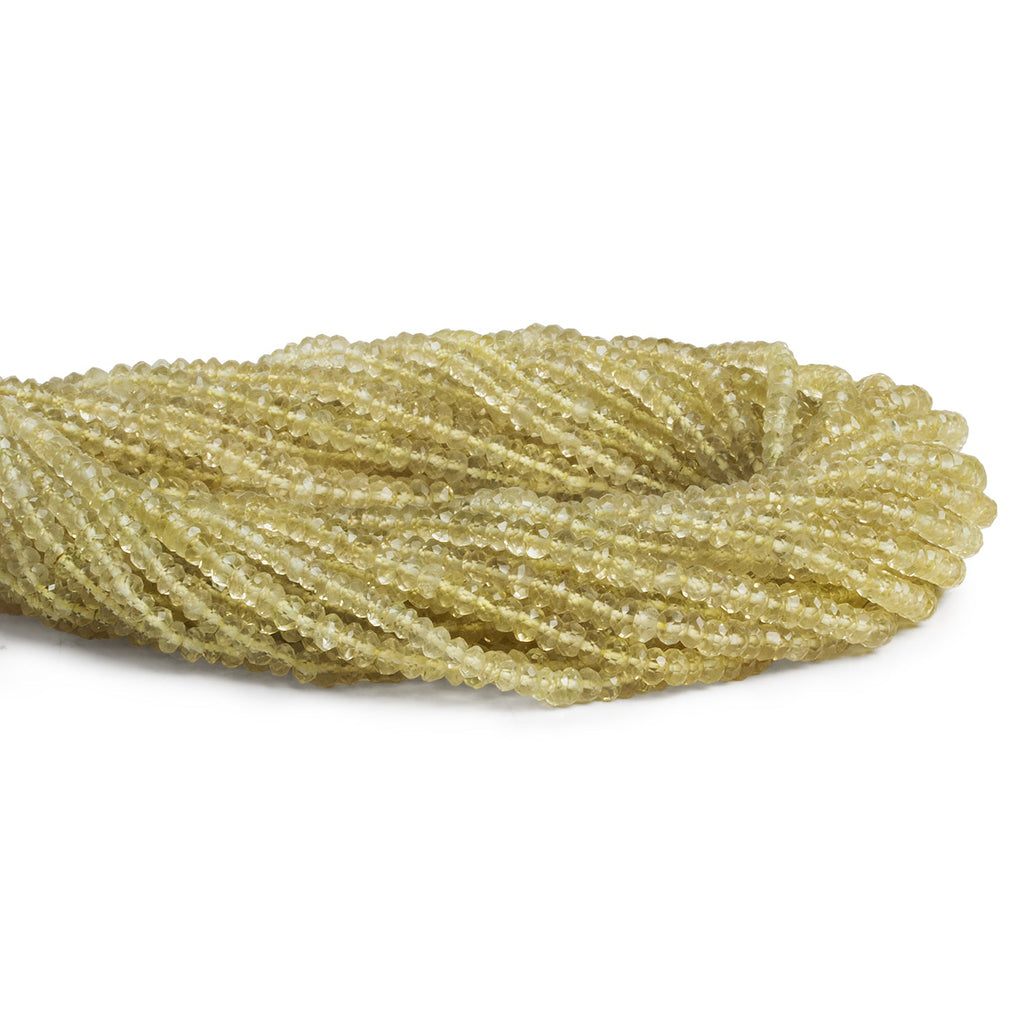
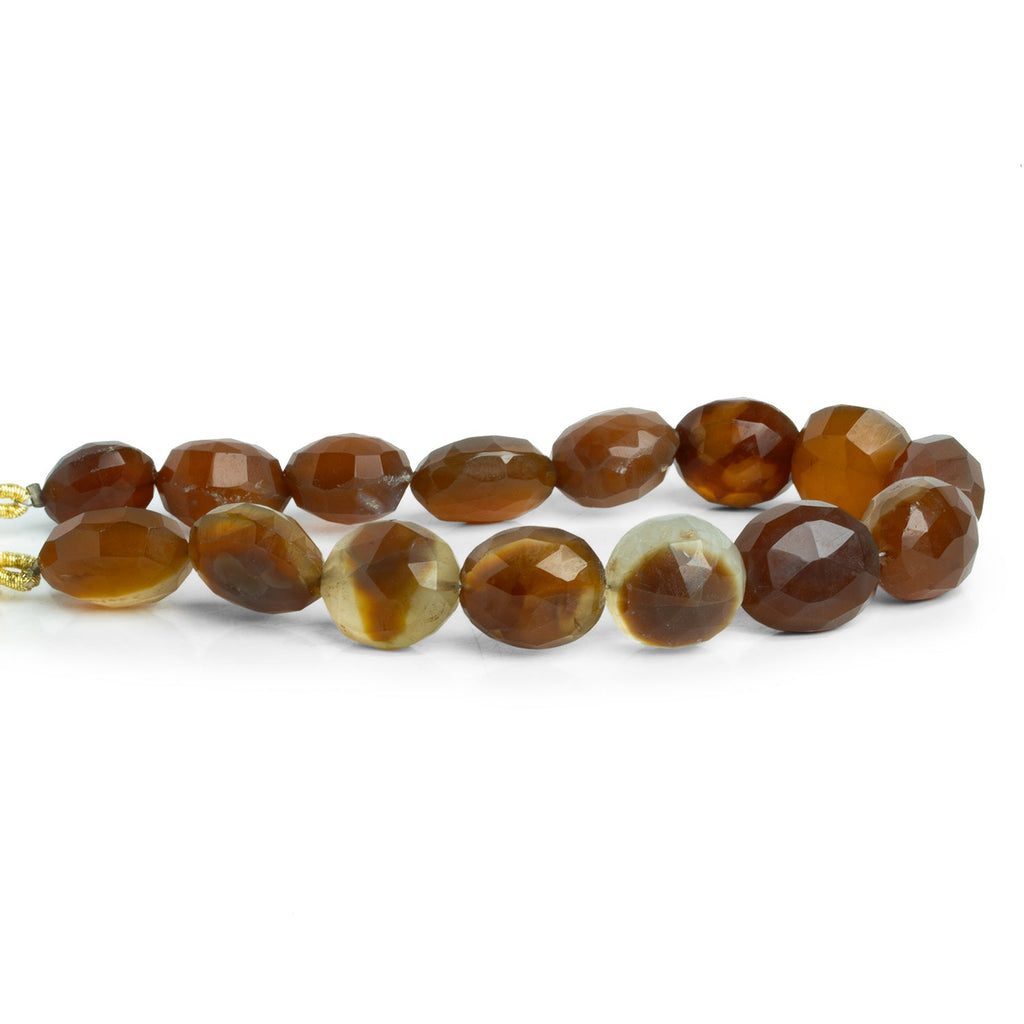
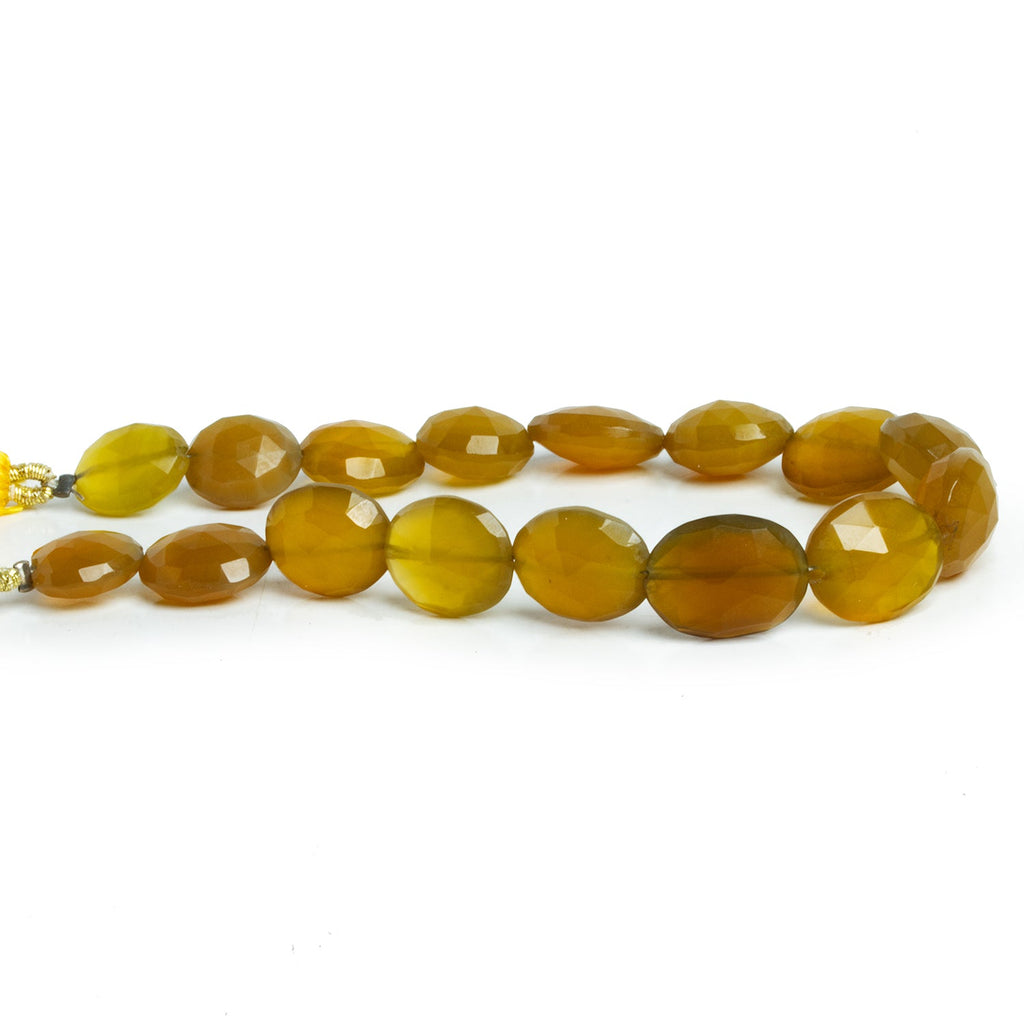
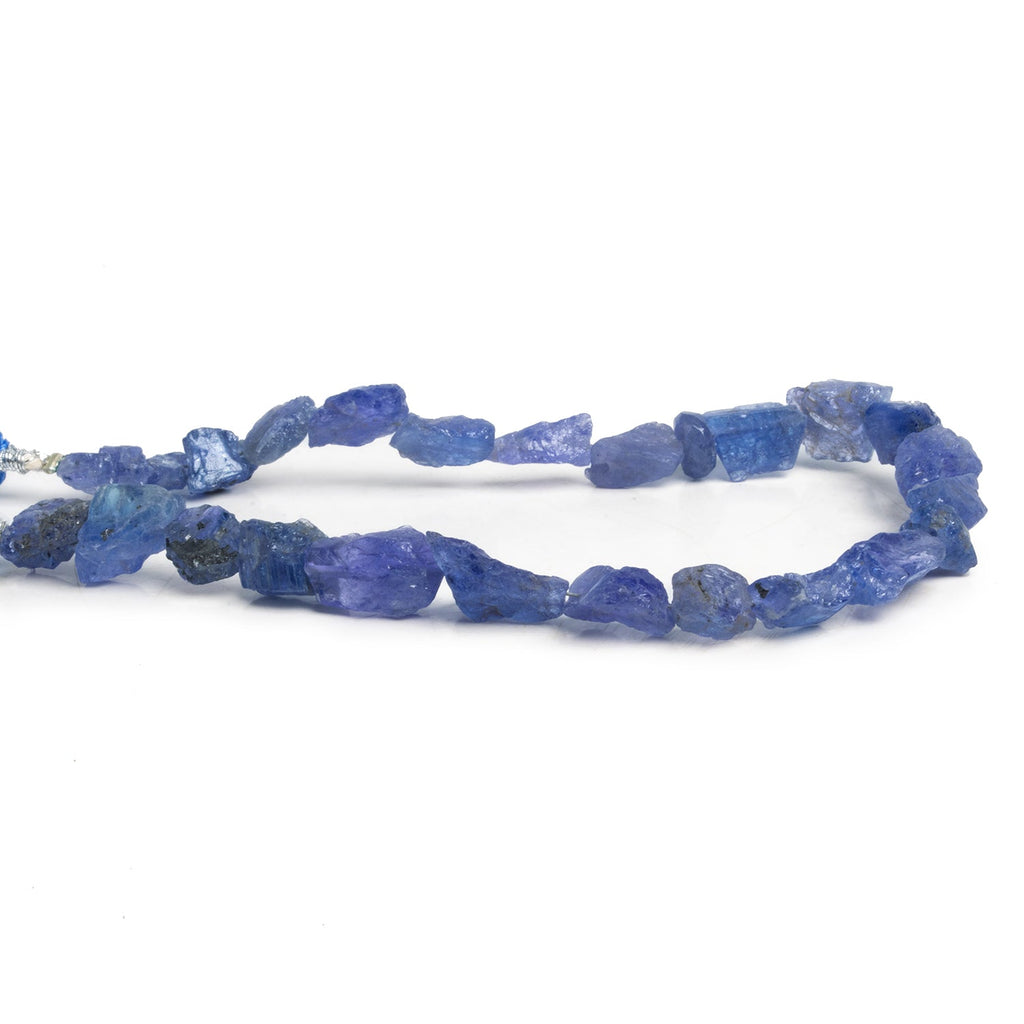
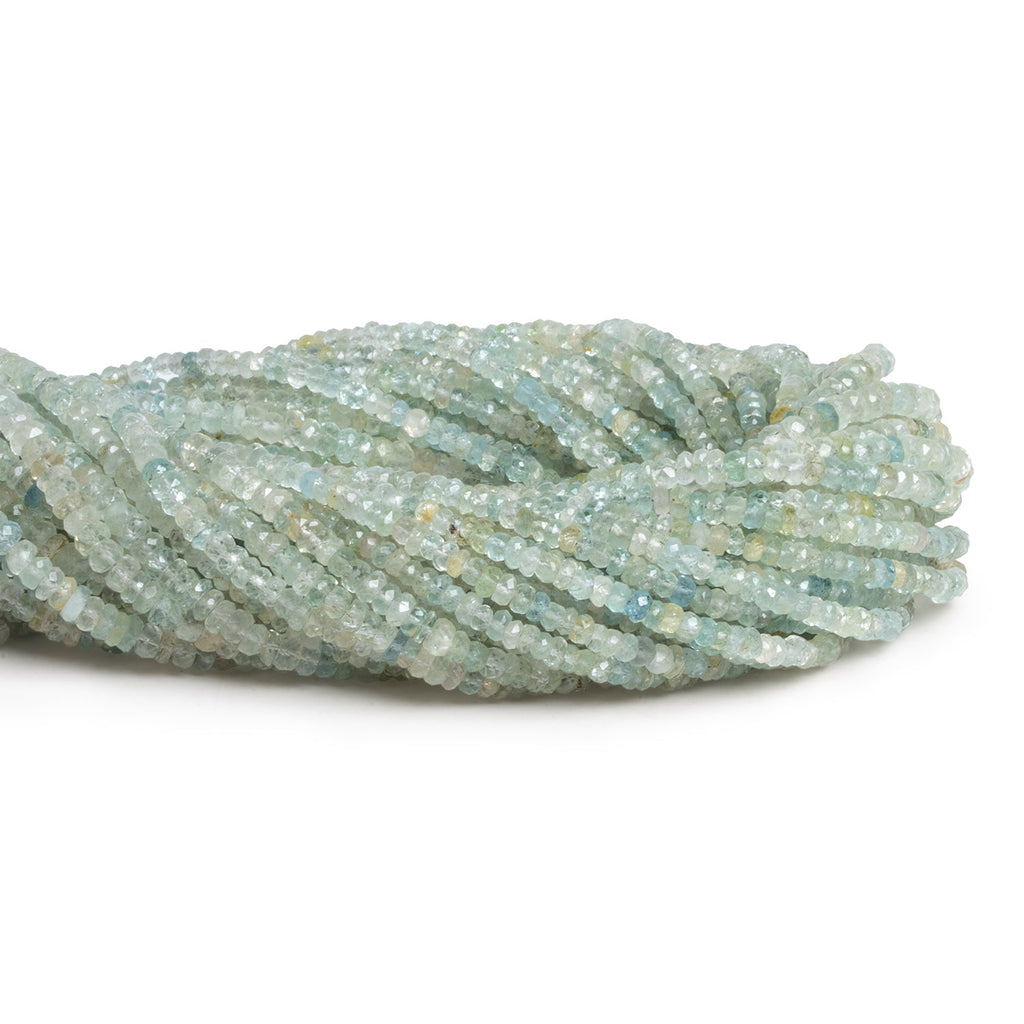
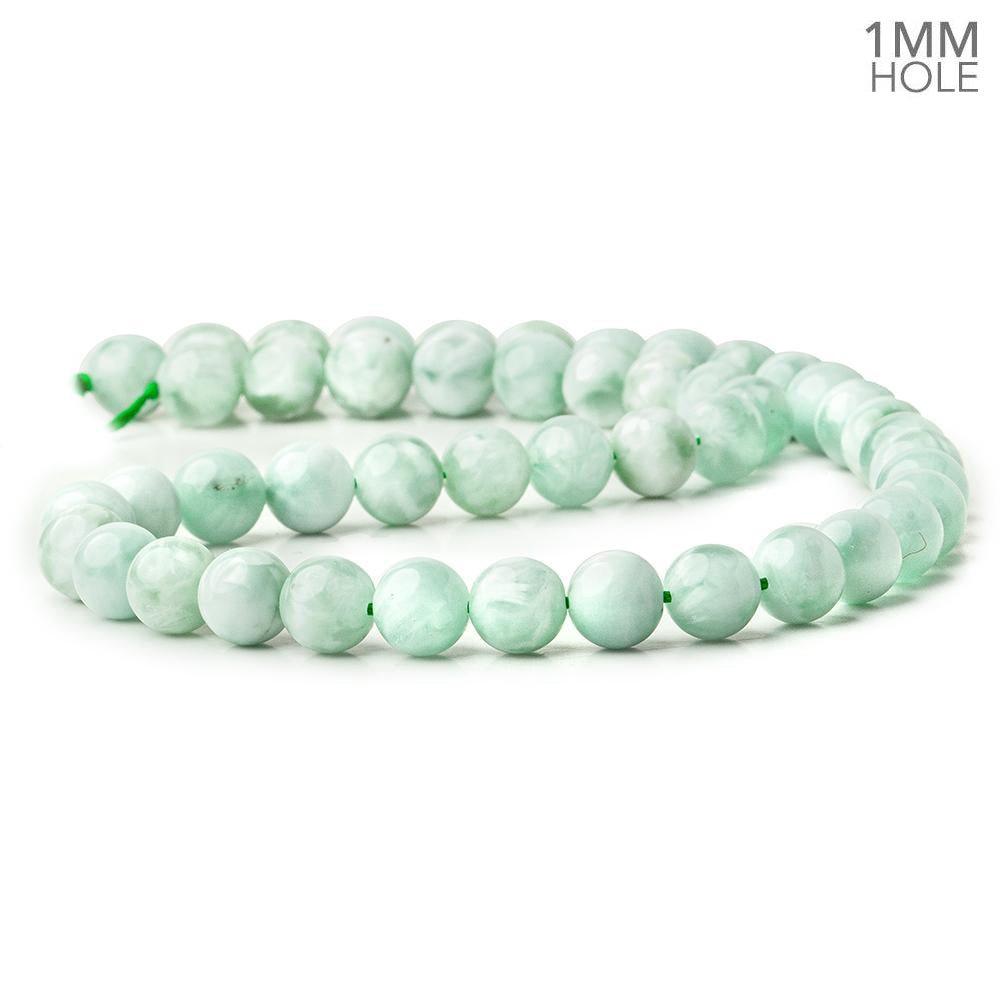
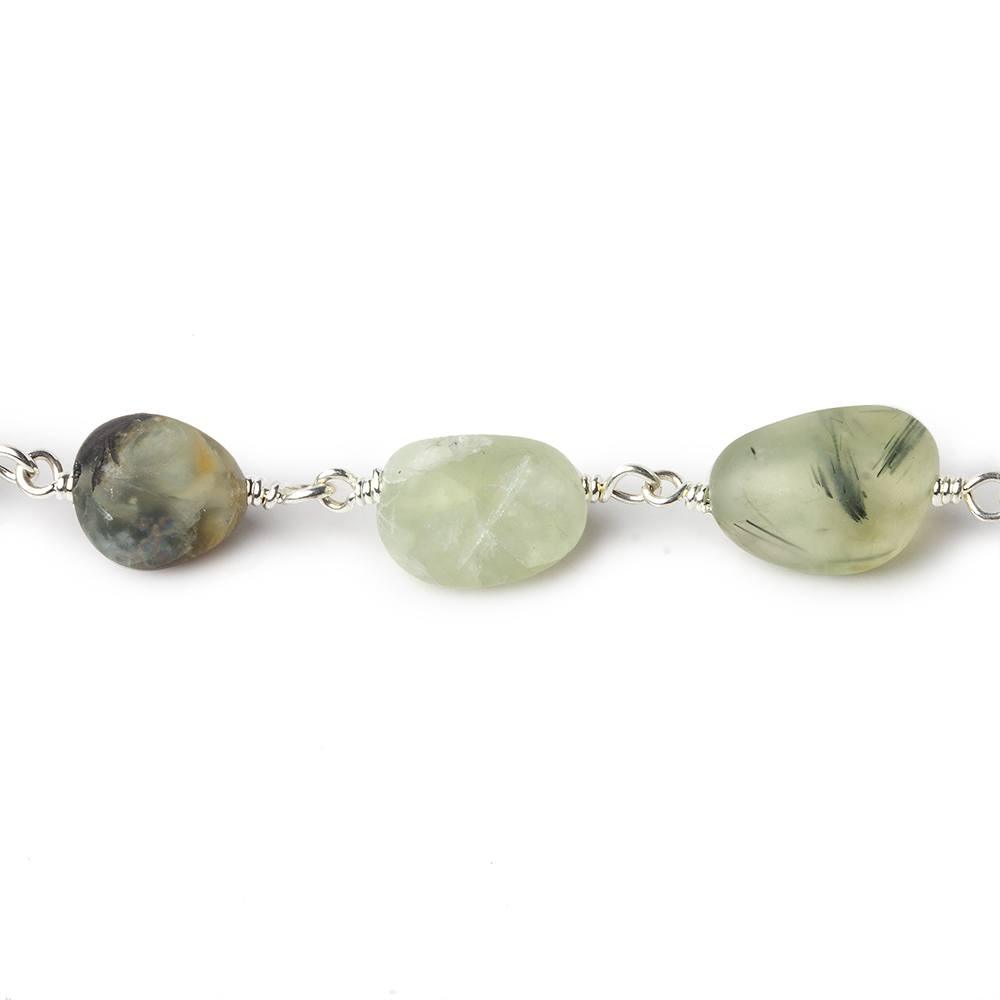
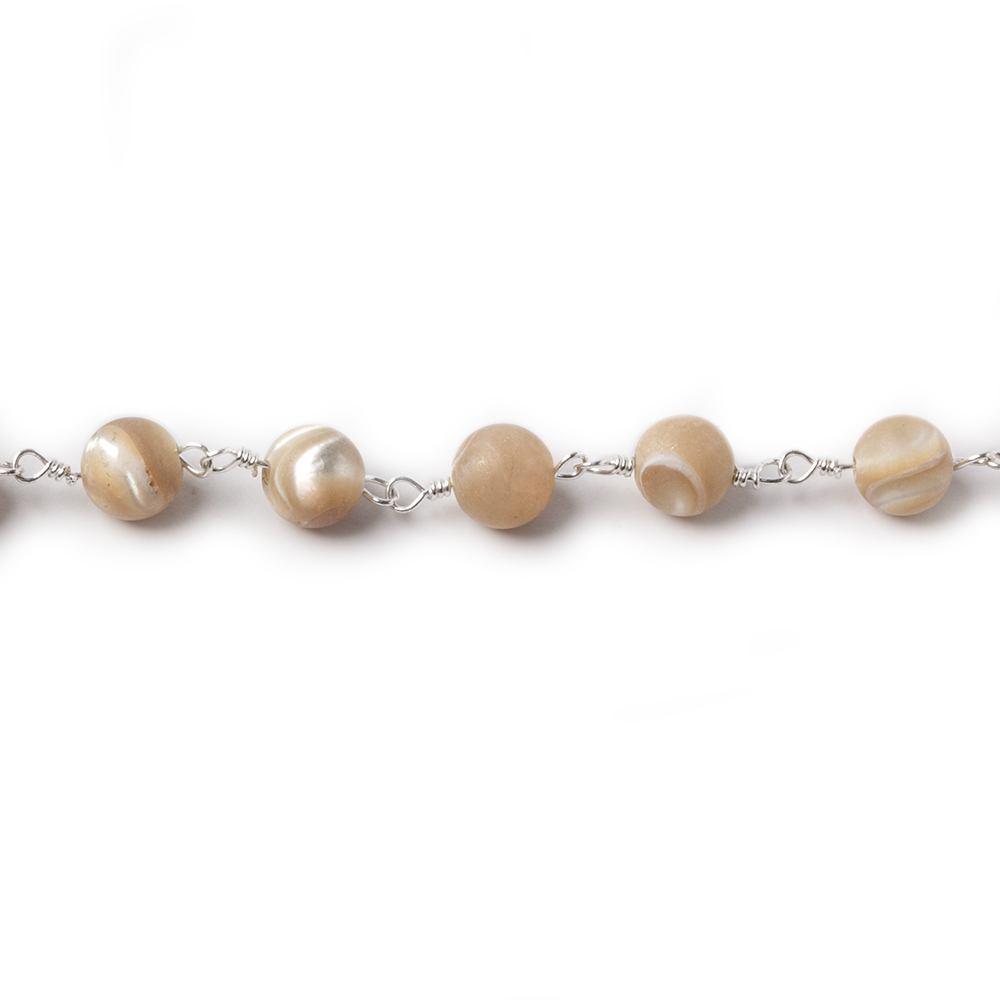
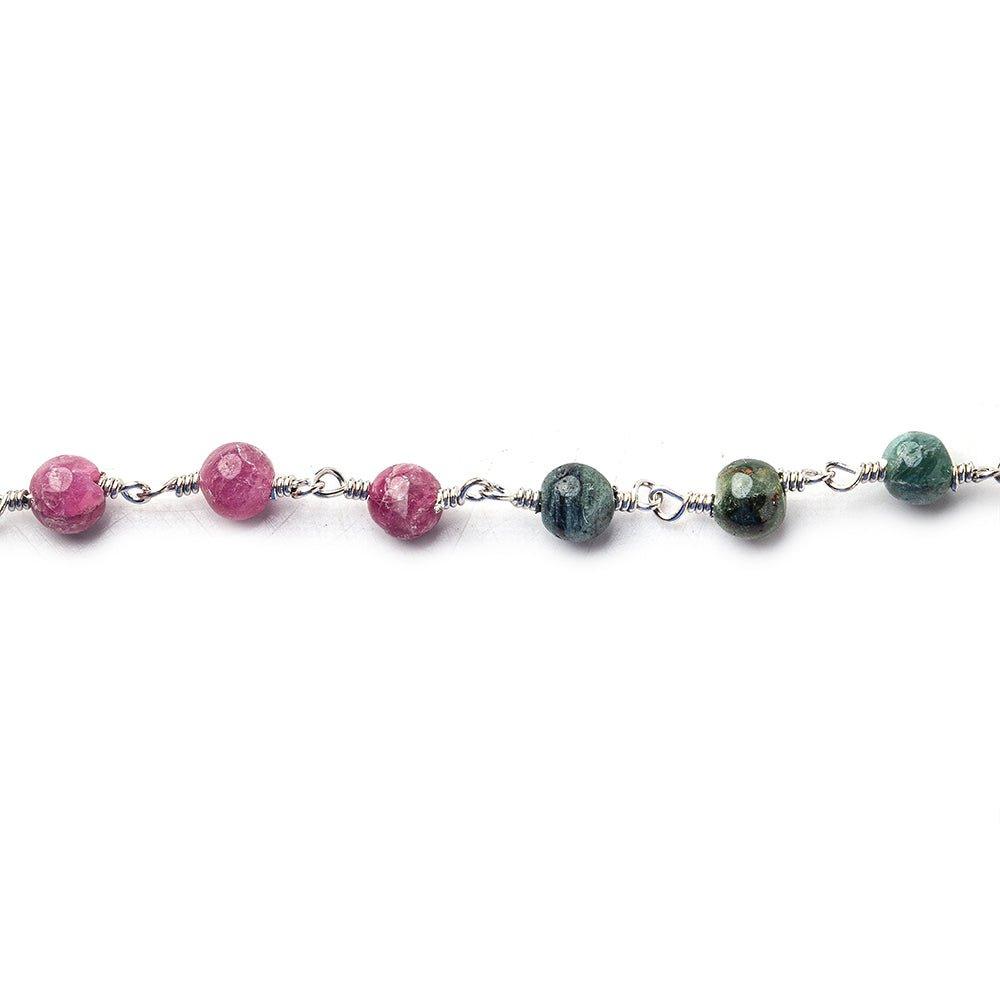
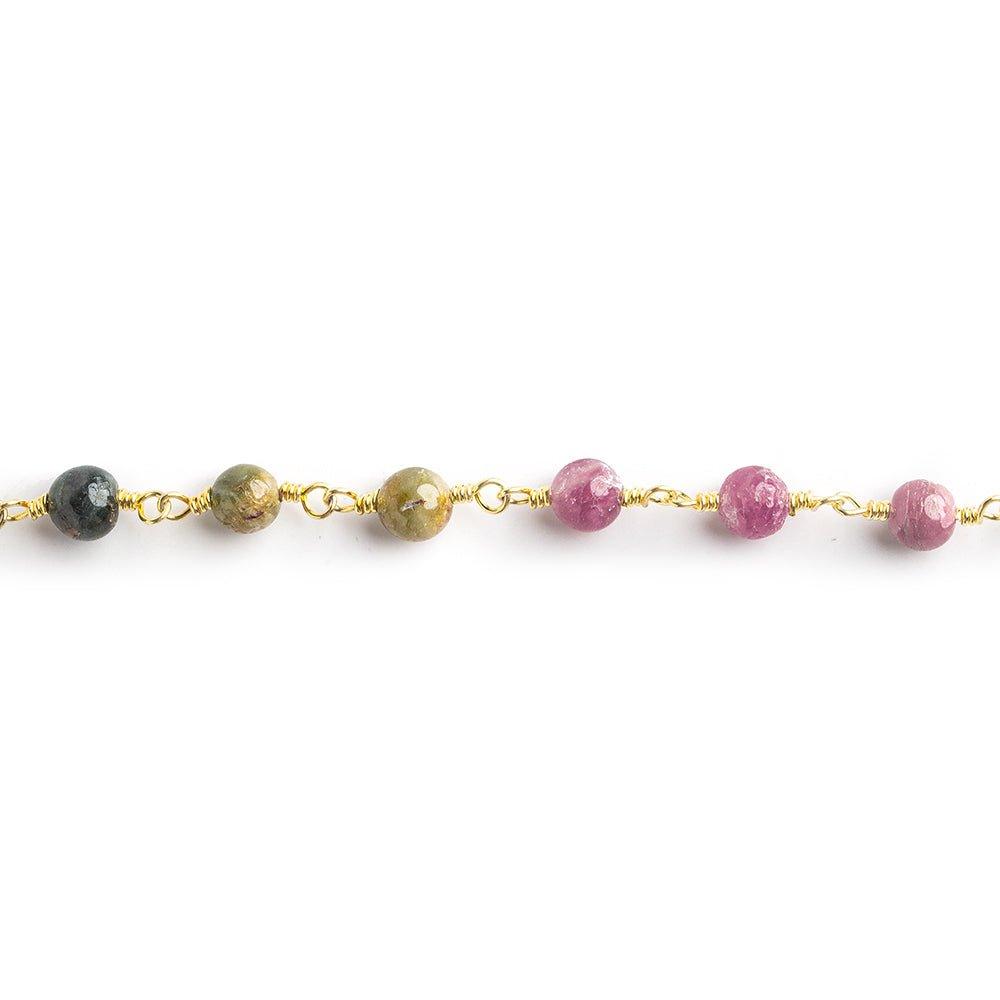
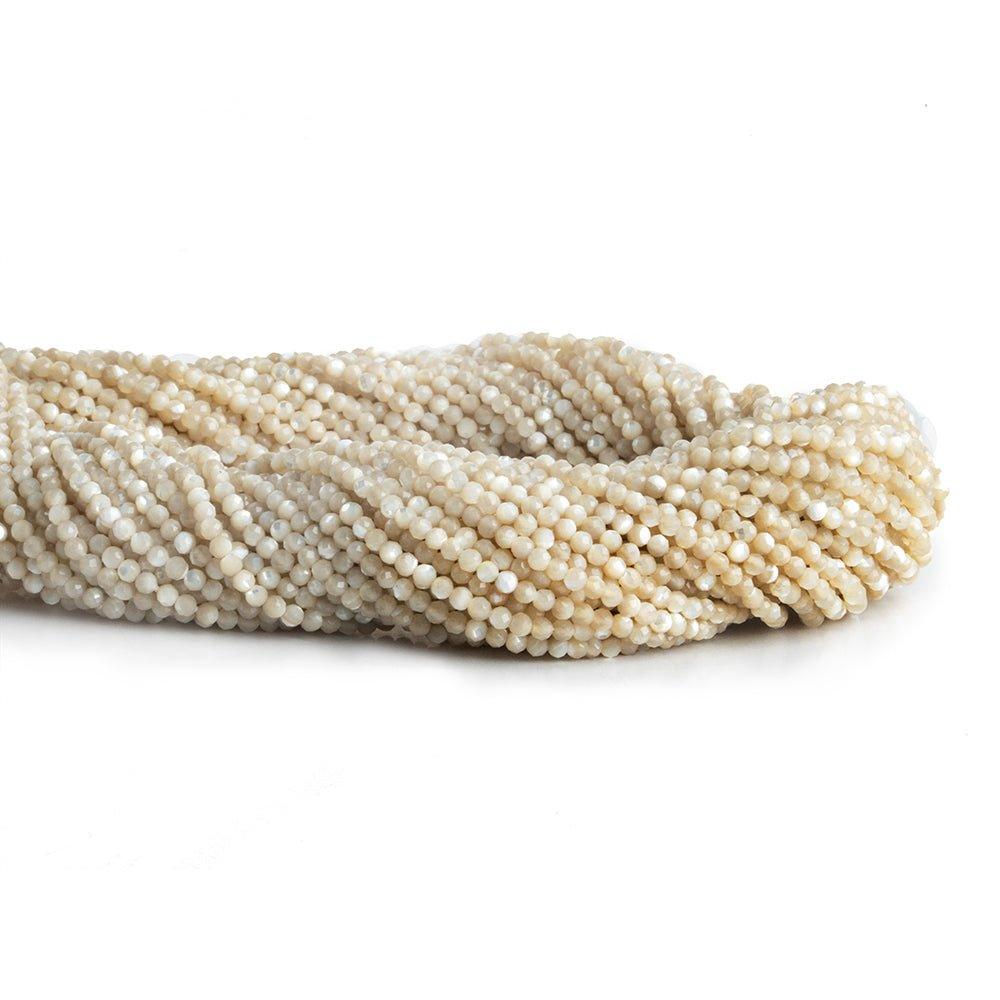
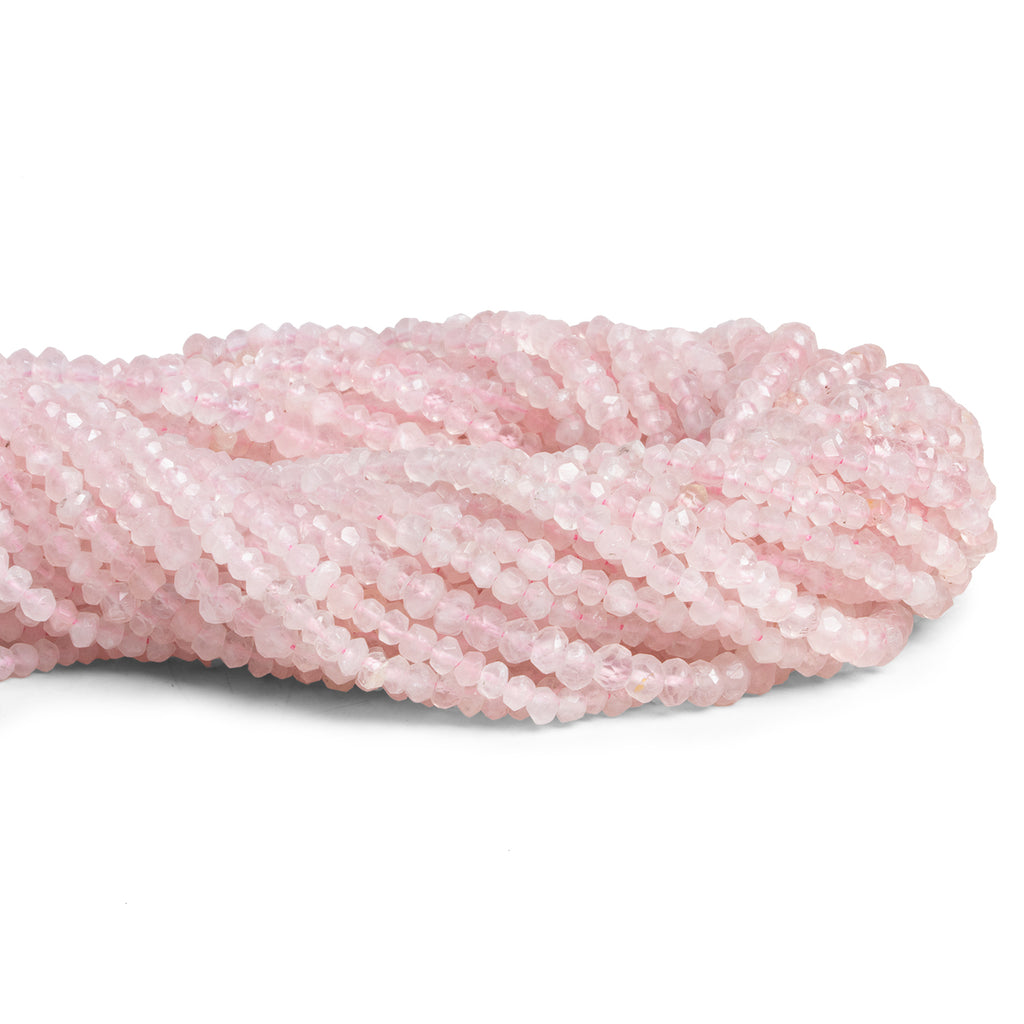
- Beads: Naturally, the beads you choose will give your bracelet its spirit and style, so choose carefully. You can go with anything you like from inexpensive acrylic or glass options to beautiful gemstones and crystals.
- Wire, cord, or string: You’ll need one or all of these, depending on what type of bracelets you’re making. Stretchy cord is better for easy wearability, while wire and other options are better for intricate, elegant designs.
- Fasteners: Unless you’re sticking to stretch bracelets, you’ll need a way to fasten your bracelets once they’re complete. Check out classic options like claw clasps or toggle alternatives, along with jump rings and (if you’re making wire bracelets) crimp beads.
- Jewelry tools: Essential beading tools and equipment, including wire cutters and jewelry pliers.
How to Make a Bracelet with Beads
Once you’ve chosen your beads and preferred options for threading and securing your creations, it’s time to get down to business. Here’s a simple step-by-step rundown to refer to as you dive into your new hobby.
Get organized
Although you can adopt a more organic approach to jewelry making if you wish, most jewelry makers prefer to plan ahead. Invest in a bead board or a dedicated bead tray for organizing and keeping track of your beads. Plan your design, as well, so you can create with purpose and direction.
Take some measurements
Always measure your wrist (or the wrist of the person who’ll be wearing your creation) before creating to ensure a comfortable fit. Add an extra inch or so to ensure the bracelet will fit comfortably, and cut your wire or cord accordingly.
Prepare to start stringing
If you’re making a wire bracelet, the first thing you’ll want to do is attach your clasp using a crimp bead. Run the wire through the crimp bead, add the clasp you’ve chosen, thread the wire back through the bead, and use your pliers to secure your work by flattening the bead.
If you’re using string or stretch cord, you can start your bracelet by simply folding a piece of tape over one end to keep the beads from slipping off during the creation process.
String your beads
Now comes the fun part. Start adding your beads to your wire, string, or cord in any pattern or configuration you like. Don’t be afraid to get creative! You can experiment with patterns, alternating bead sizes, spacer beads, or freeform configurations. Make your bracelet your own.
Check your work
As you get closer to finishing the stringing process, check your bracelet every once in a while against your wrist to ensure it will sit correctly and that the beads will fill the cord without becoming overcrowded. If you need to, add or remove some beads until things are just right.
Consider any additions
If you want your bracelet to include any charms or other accessories in addition to just the beads, now is the time to add them. Simply slide them onto your cord or wire and position them as needed or desired between the beads to add some visual interest and personality to your bracelet.
Finish your bracelet
Finish your bracelet by securing your string or cord. If you’re using wire, you’ll need to attach the connection point for your clasp the same way you attached the clasp at the beginning of this process.
If you’re using stretch cord or string, simply tie a nice, secure square knot to complete the process. Be sure to neatly trim any excess string or wire that may be present.
Test your bracelet
Before wearing or gifting your bracelet, give it a quick test first to make sure it fits well and that the clasp works properly (if you did use a clasp). Clasps should be easy to open, close securely, and keep your beads in place.
You’ll also want to look your bracelet over and make sure it looks as lovely and polished as you imagined. Are the beads well-secured? Is the spacing nice and even? Beaded bracelets look best when they’re flawless, so definitely take the time to correct any imperfections you find.
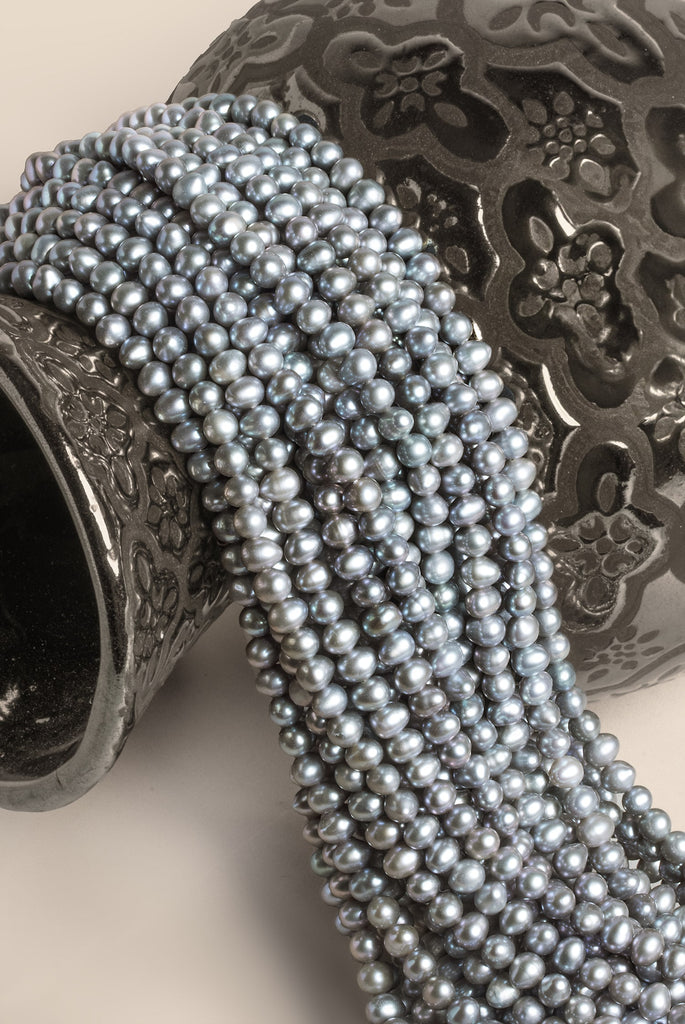
Whether you’re brand new to jewelry making or have been a major jewelry hound for decades, quality beads are a must if you’re serious about crafting truly stunning bracelets and other creations. Always get your beads from a trusted supplier like The Bead Traders to ensure optimal quality and value.
At The Bead Traders, you’ll find a beautiful, well-rounded collection of quality beads, including gemstone and metal options, as well as focal beads. We’re always adding to our catalog, as well, so there’s always something new to discover and add to your repertoire. Browse our selection today, and prepare to be amazed!

